Gear-unit Replacement

What you can expect to find on this page

The 14 speed internal gear-unit of every Rohloff SPEEDHUB 500/14, can be completely removed from the hub shell, permitting a fast and easy replacement should needs be. We'll show you below, how to go about this process.

Gear-unit removal

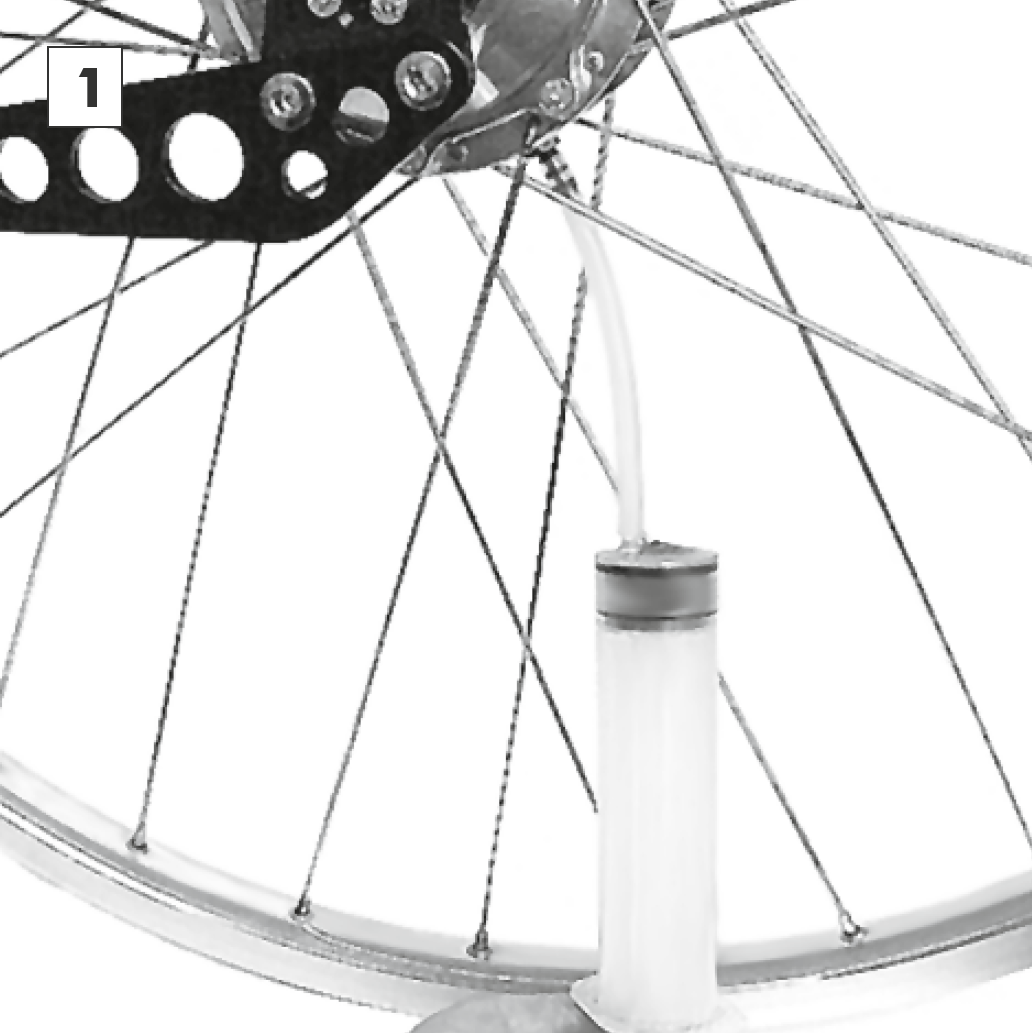
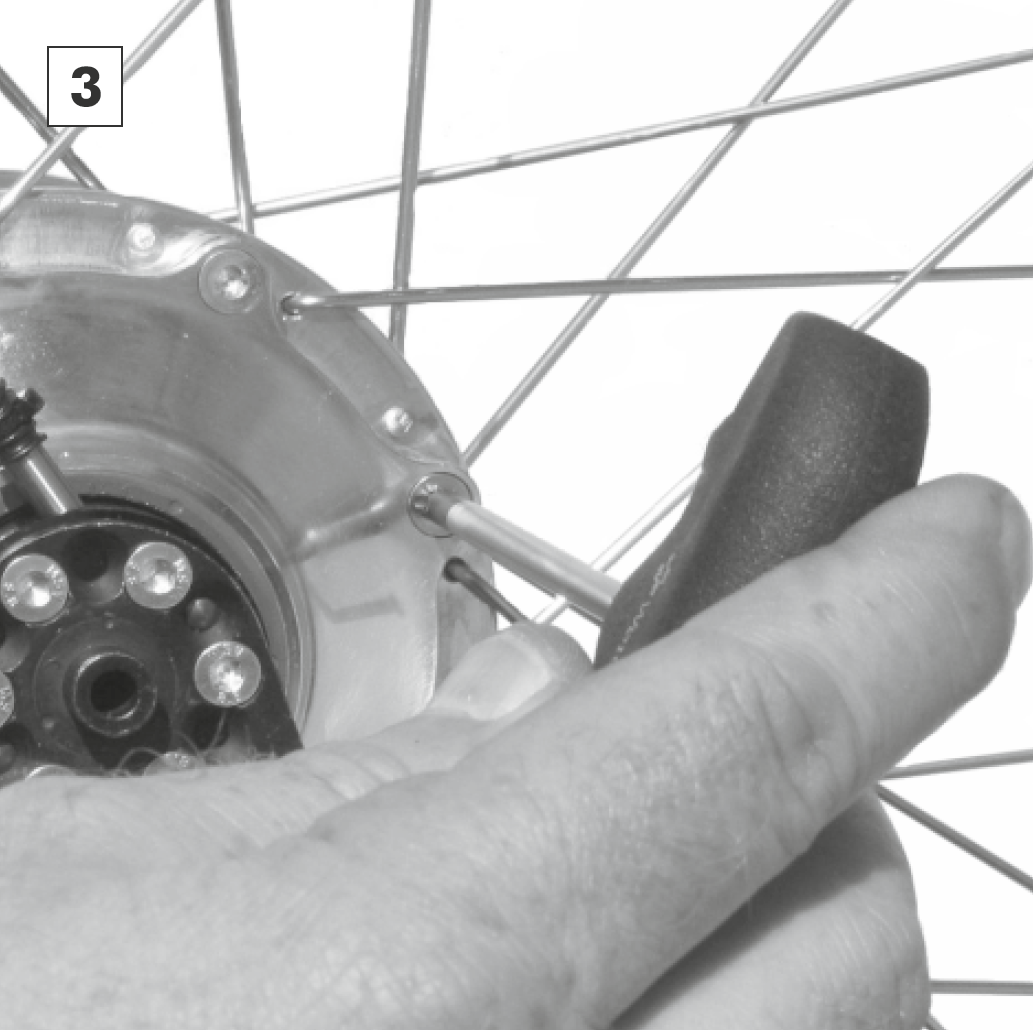
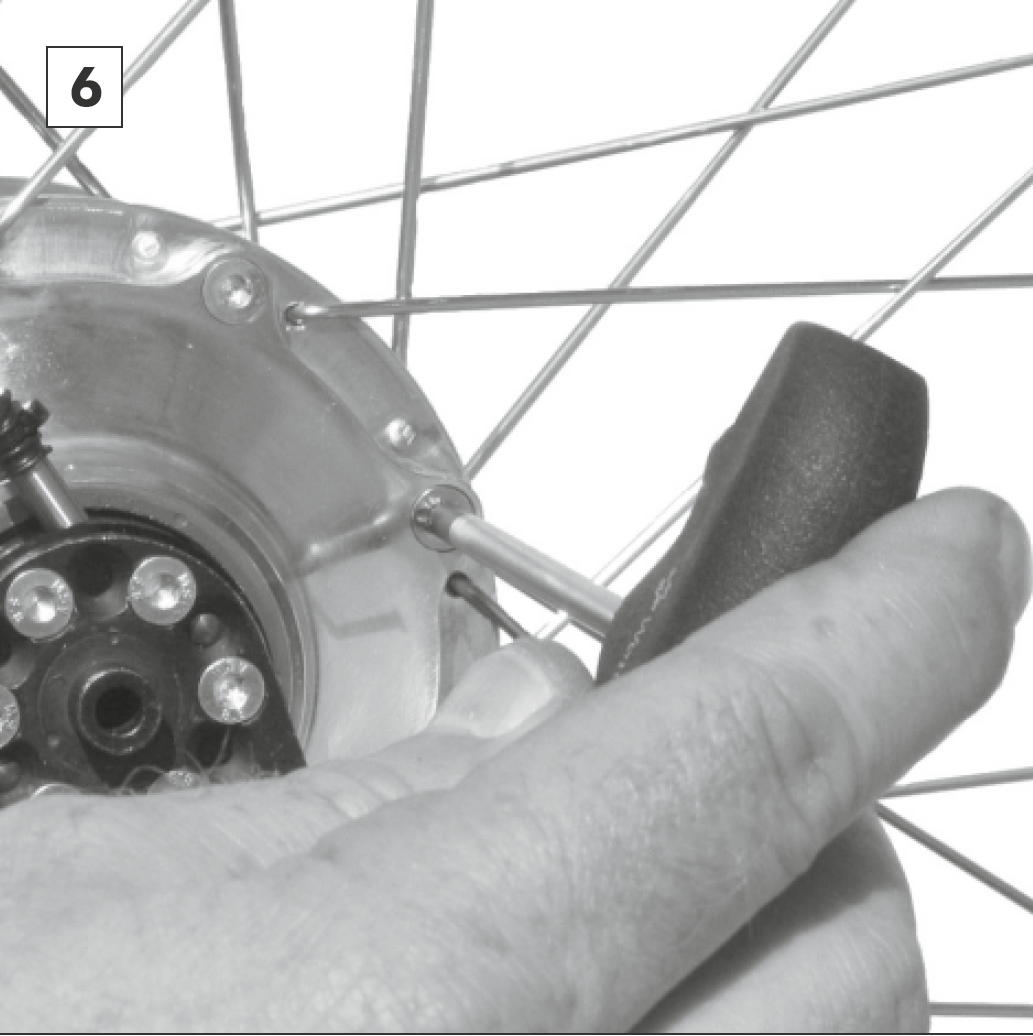
The removal procedure must start with the the rinsing and draining of the oil from within the hub – see chapter Oil change. The drain screw must not be reused.

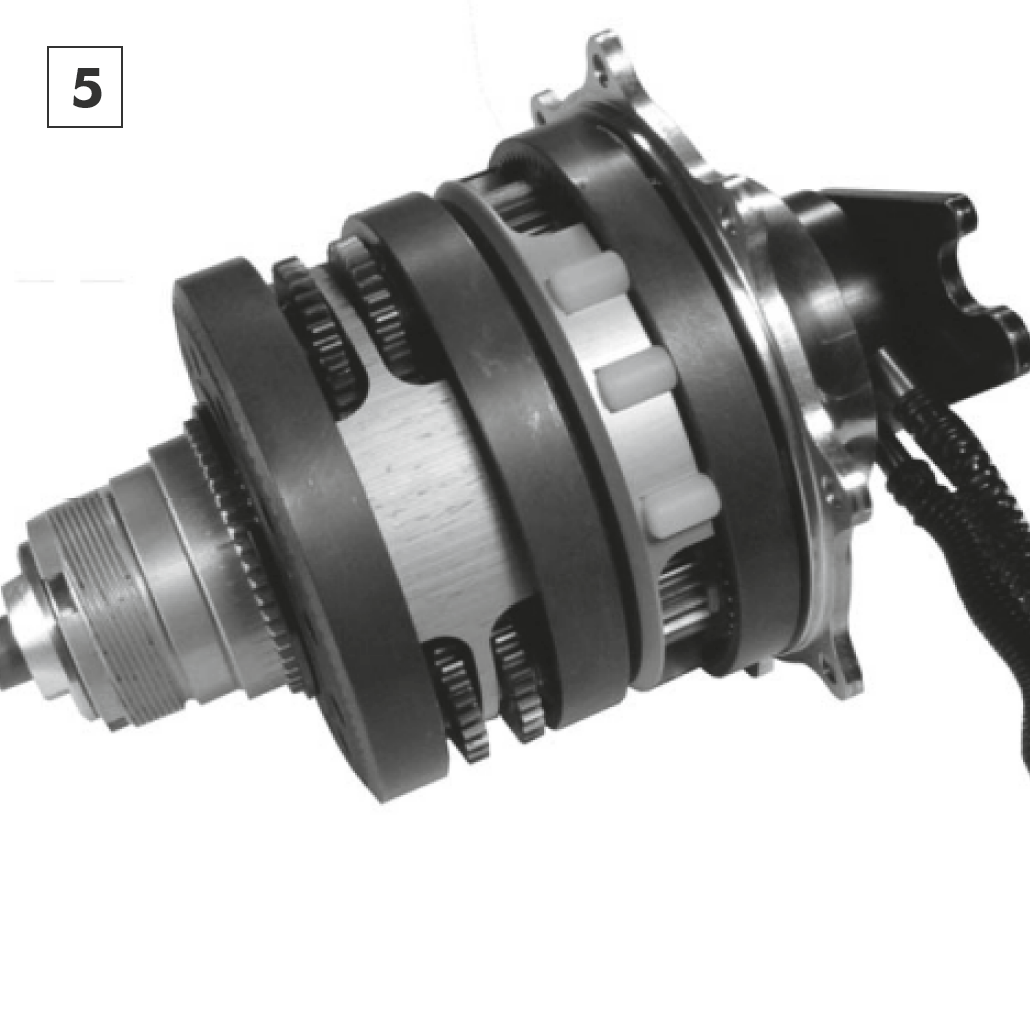
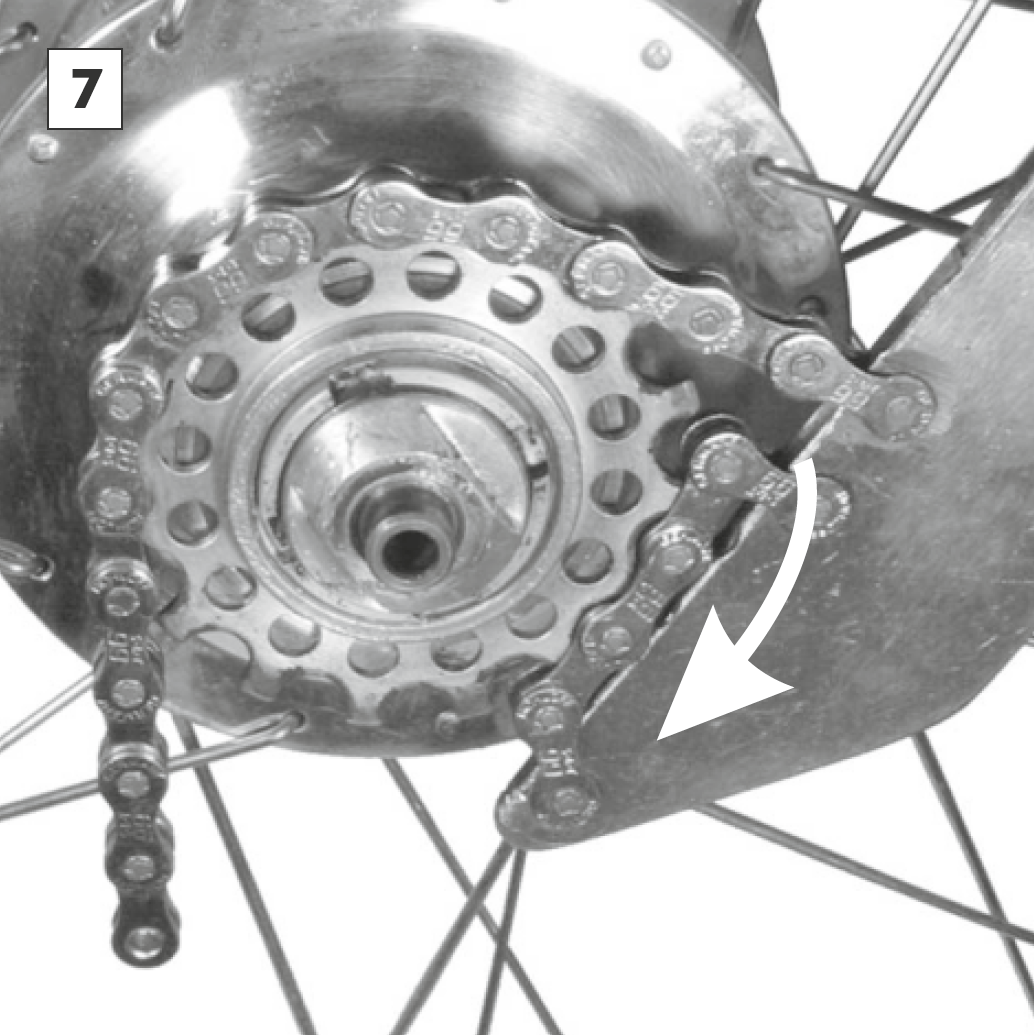
Remove the sprocket using a chain whip and the sprocket tool – see chapter Sprocket reversing/replacing.

Attention

When mounting or dismounting the sprocket, always check that the sprocket tool is properly secured. The driver could get severely damaged, when attempting this removal/assembly procedure with an unsecured sprocket tool.

Remove the axle nuts or Q/R skewer and the sprocket tool. Now remove the 8 hub cap countersunk bolts (M4x10 - Torx TX20).

Extract the gear-unit from the hub shell. If this proves to be difficult, than gently tap the sprocket side axle stub with a rubber mallet to ease the process. CAREFUL! Excess oil may still leak out of the hub shell when opened!
 

Rest the gear-unit on its side and remove and dispose of the excess oil that remains inside the hub shell.

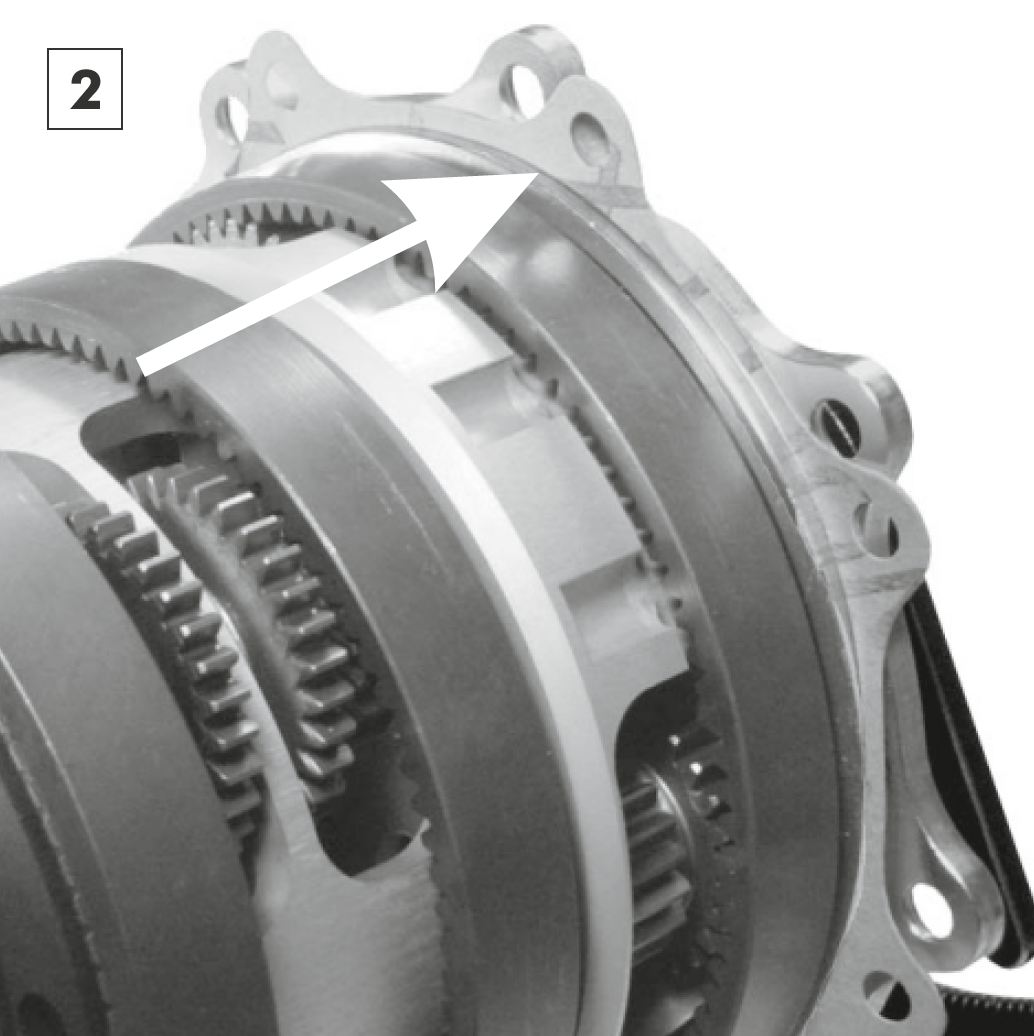
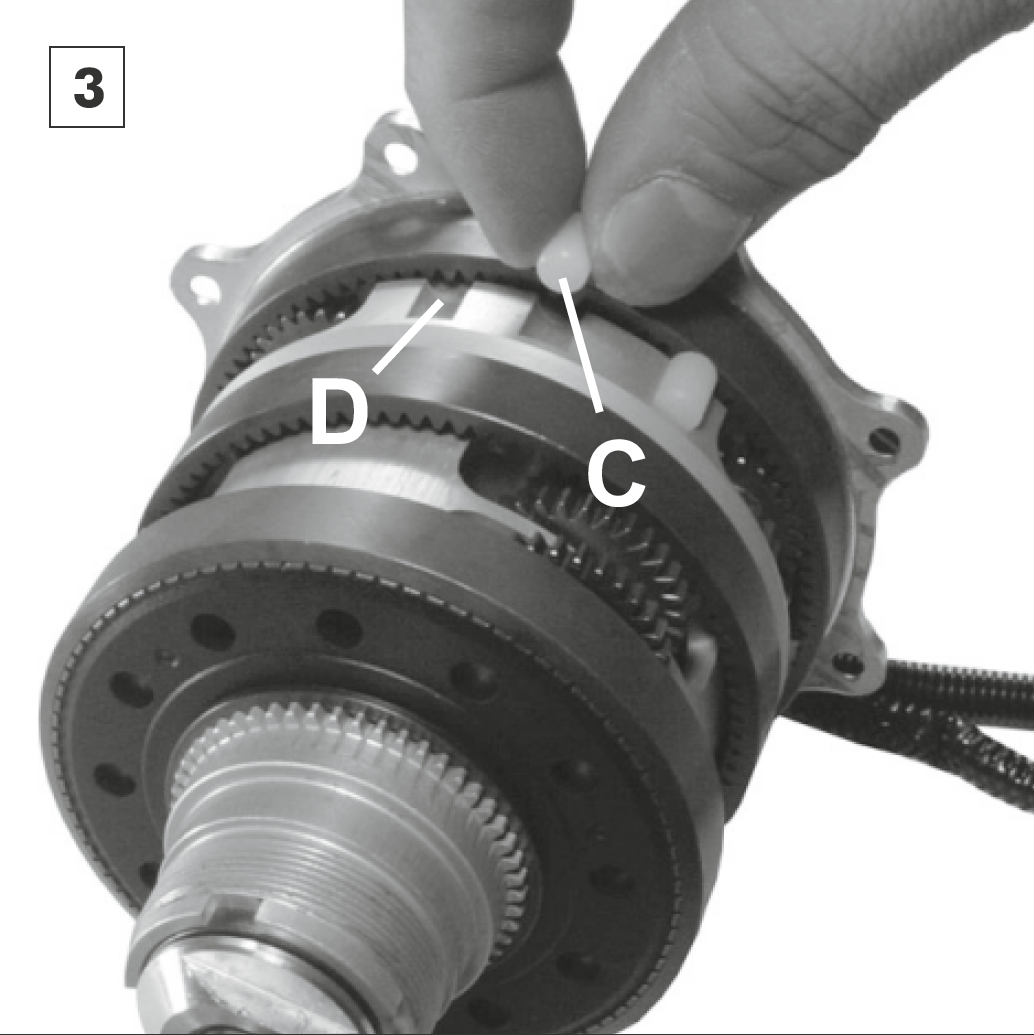
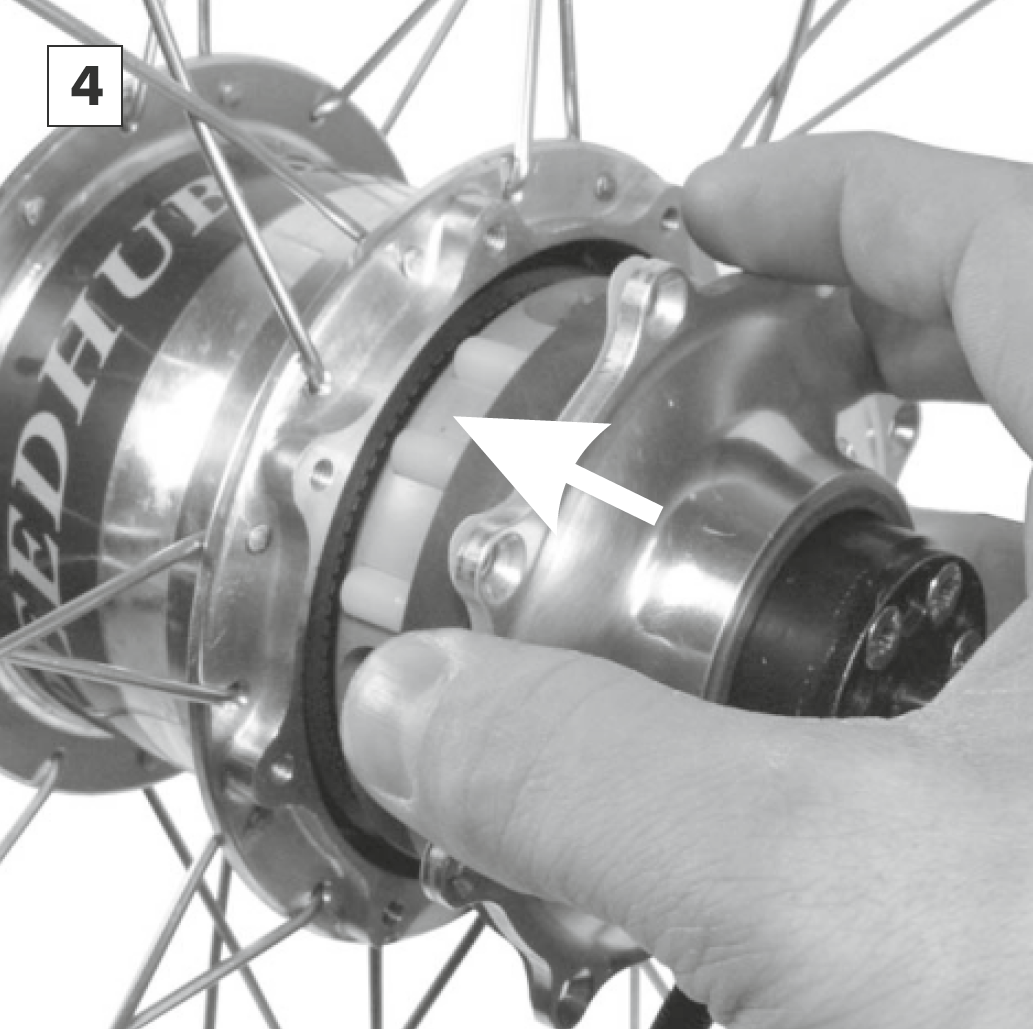
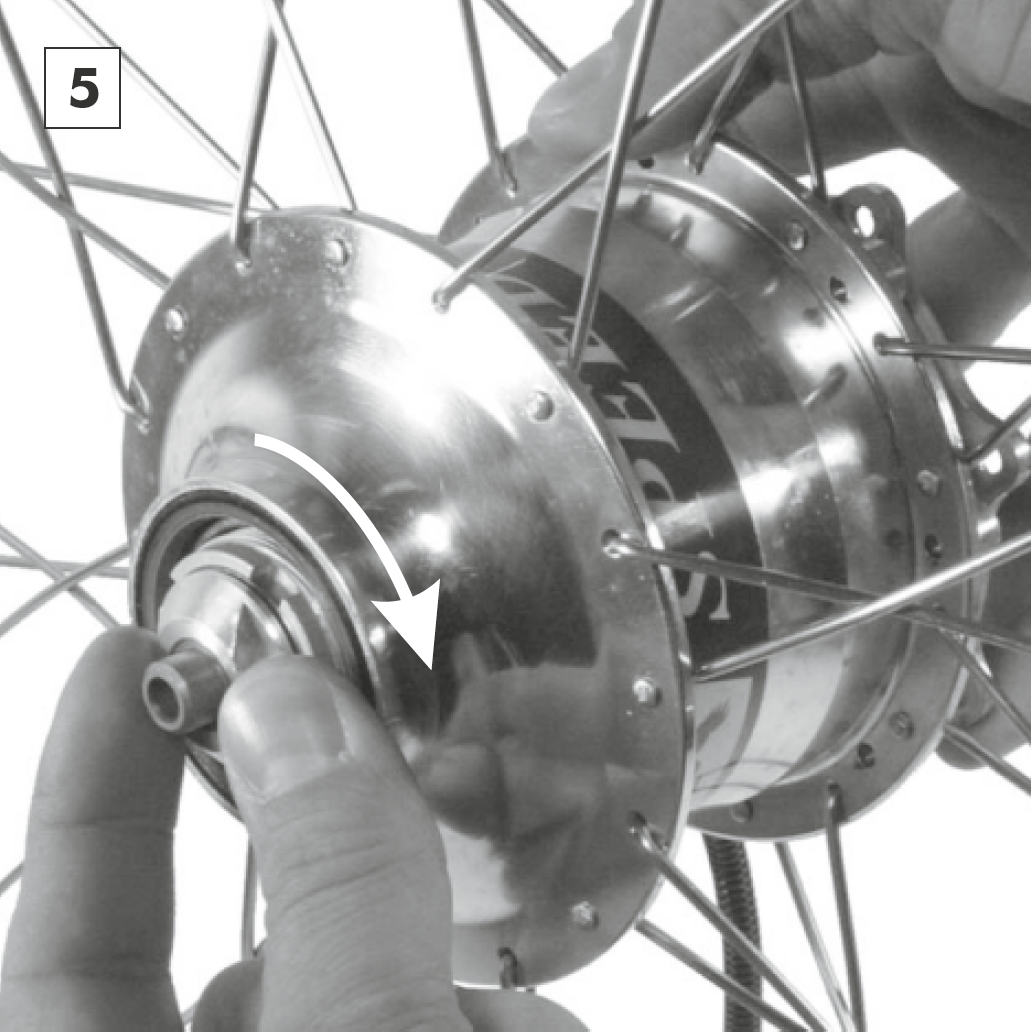
Gear-unit installation

New coupling pins and a new paper gasket must be used when installing the gear-unit.

The bearing seat A and the sprocket thread B of the driver must be lightly greased before installing the gear-unit.
 

The new paper gasket (arrowed) must be fitted over the centering ridge of the hub cap. This is better accomplished when lightly greased. Align the holes in the paper gasket with those in the hub cap ready for the bolts later.

The new coupling pins C must also be lightly greased before being placed into their respective seats D. These coupling pins are what transfer drive from the internal gear-unit, to the hub shell to create forward motion.

Hold the hub cap and the gear-unit firmly and insert the gear-unit carefully into the hub shell until the hub cap makes contact with the hub shell.

The gearbox only sits properly once the joints sit in their correct positions against the hub casing. To ease the process, rotate the driver in clockwise direction whilst pushing the two parts together.

Once the hub shell touches the cap, the 8 countersunk screws can be replaced. Tighten these screws in a cross formation, so as to evenly distribute the pressure between the two parts whilst securing them together (M4x10 - Torx TX20, tightening torque: 3Nm/25in.lbs.).
 

Refit the sprocket with the use of a chain whip.

Check that the sprocket runs smoothly by spinning the sprocket backwards. If not, then hit the axle stub firmly with a rubber mallet. Once from the sprocket side (right) and then once from the axleplate side (left). This will loosen-up the tension on the bearings.


Pointer

The hub bearing within the hubshell is a fixed bearing and the hub bearing on the sprocket side is a movable bearing. During the replacement of the gear-unit, the movable bearing could get strained (the outer race does not move parallel with the inner race due to friction created against the hub shell). By hitting the axle stubs with a rubber mallet, the inner and outer races of the bearing will be brought back into line. The sprocket should spin freely when rotated backwards once it is correctly seated.

There must be a minimum of 0.3mm between the sprocket and the hub casing. If not, then remove the sprocket and push the hub seal as far back as possible. Refit the sprocket and check that the sprocket runs smoothly.

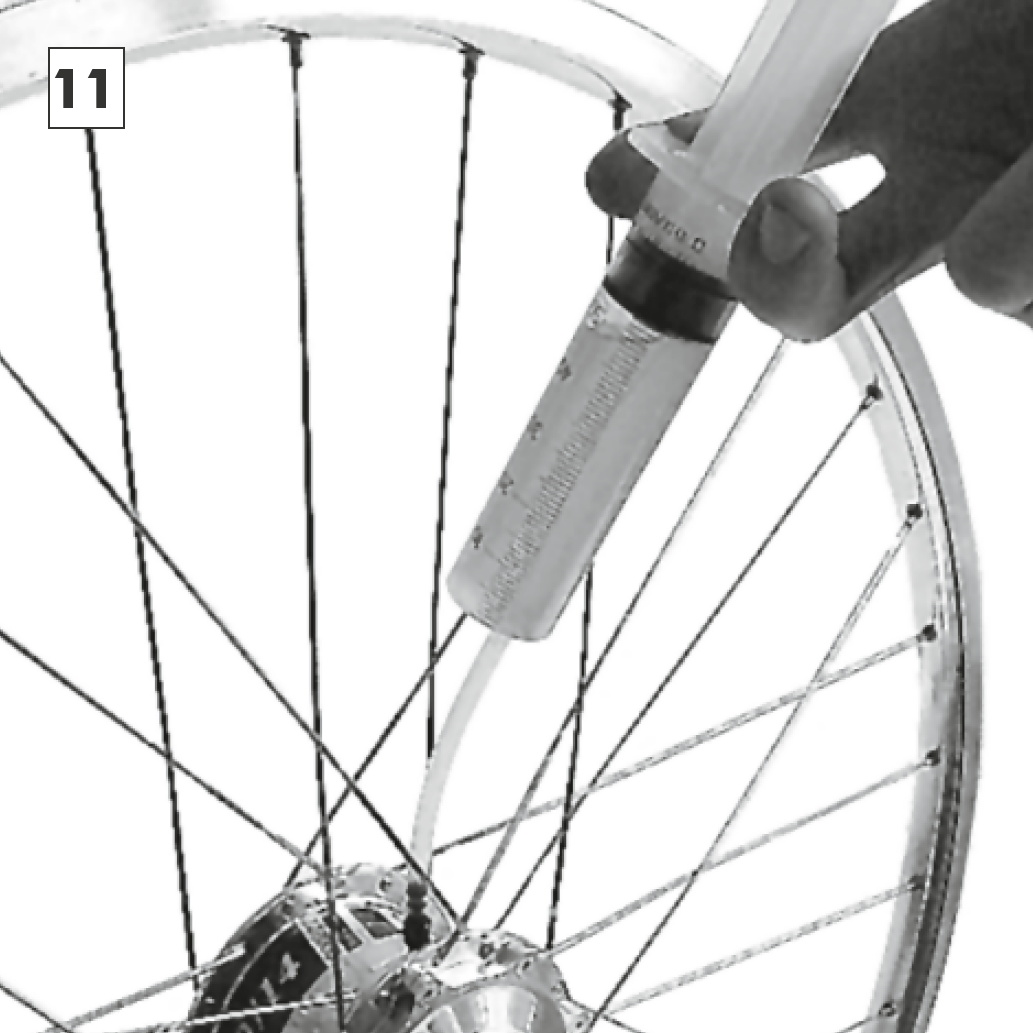
Refill the Rohloff SPEEDHUB 500/14 with 12,5ml of Rohloff SPEEDHUB OIL – see chapter Oil change. Refit a new drain screw (3mm allen key, tightening torque: 0.5Nm/4in.lbs.).

Attention

The oil drain screw must not be inserted any further than flush with the hub shell. Any deeper could result in periodic drive loss in certain gears.

Pointer

Further disassembly past the removal of the gear unit from the hub shell is not permitted. Failure to comply will result in the loss of warranty/guarantee.