Removal of the External Transfer Box
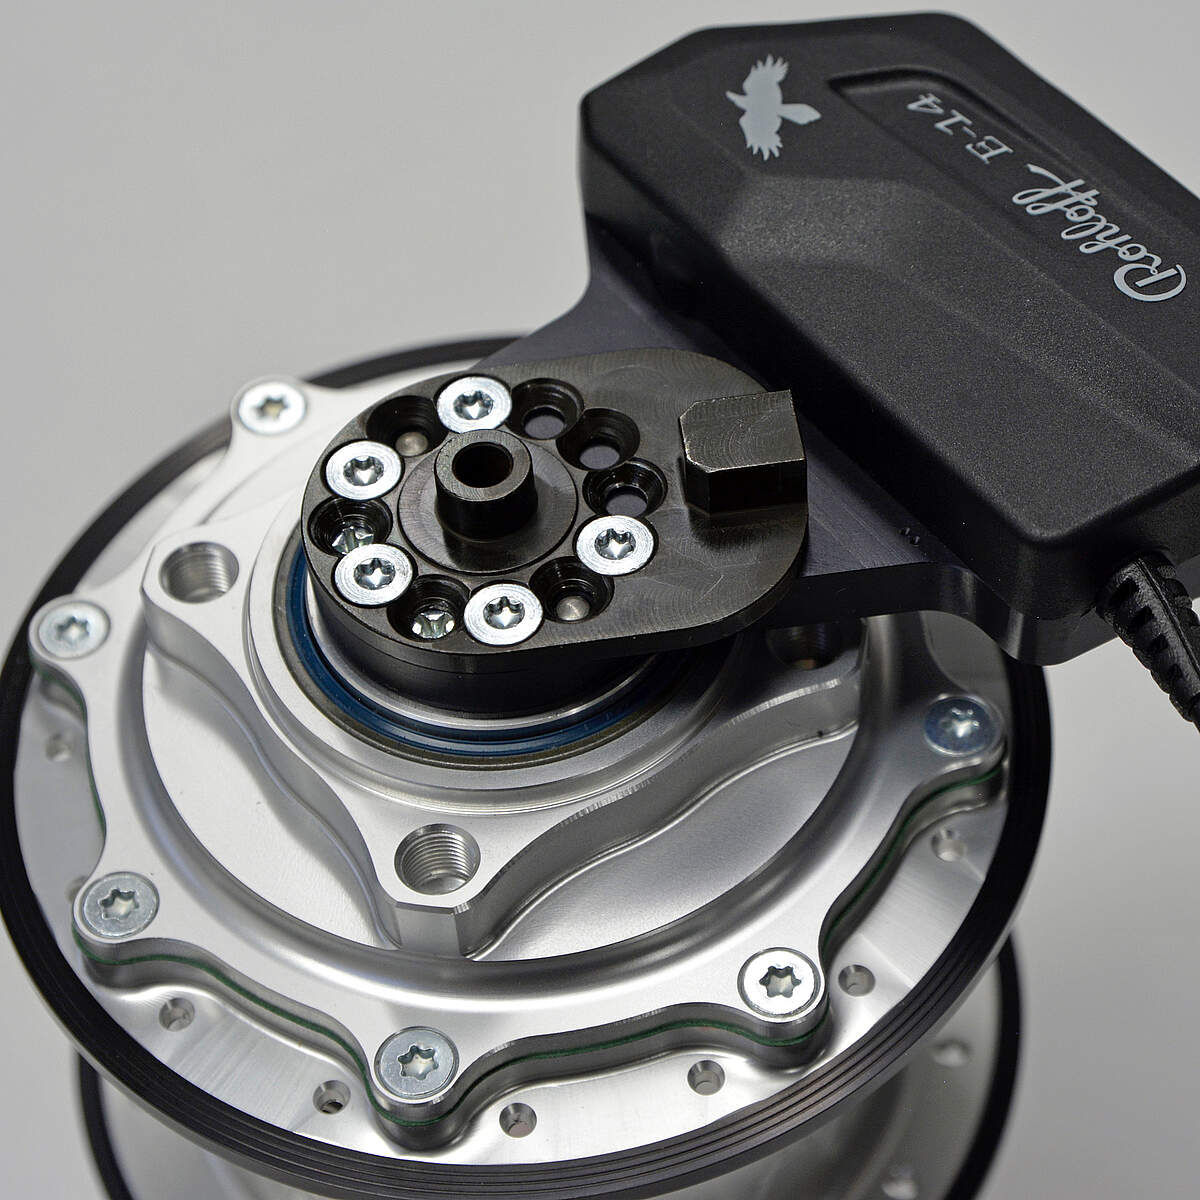


Mounting the Rohloff External Transfer Box

If the Rohloff SPEEDHUB 500/14 was not shifted into gear number 14 prior to removal of the External Transfer Box, then you will need to follow the process outlined directly below.
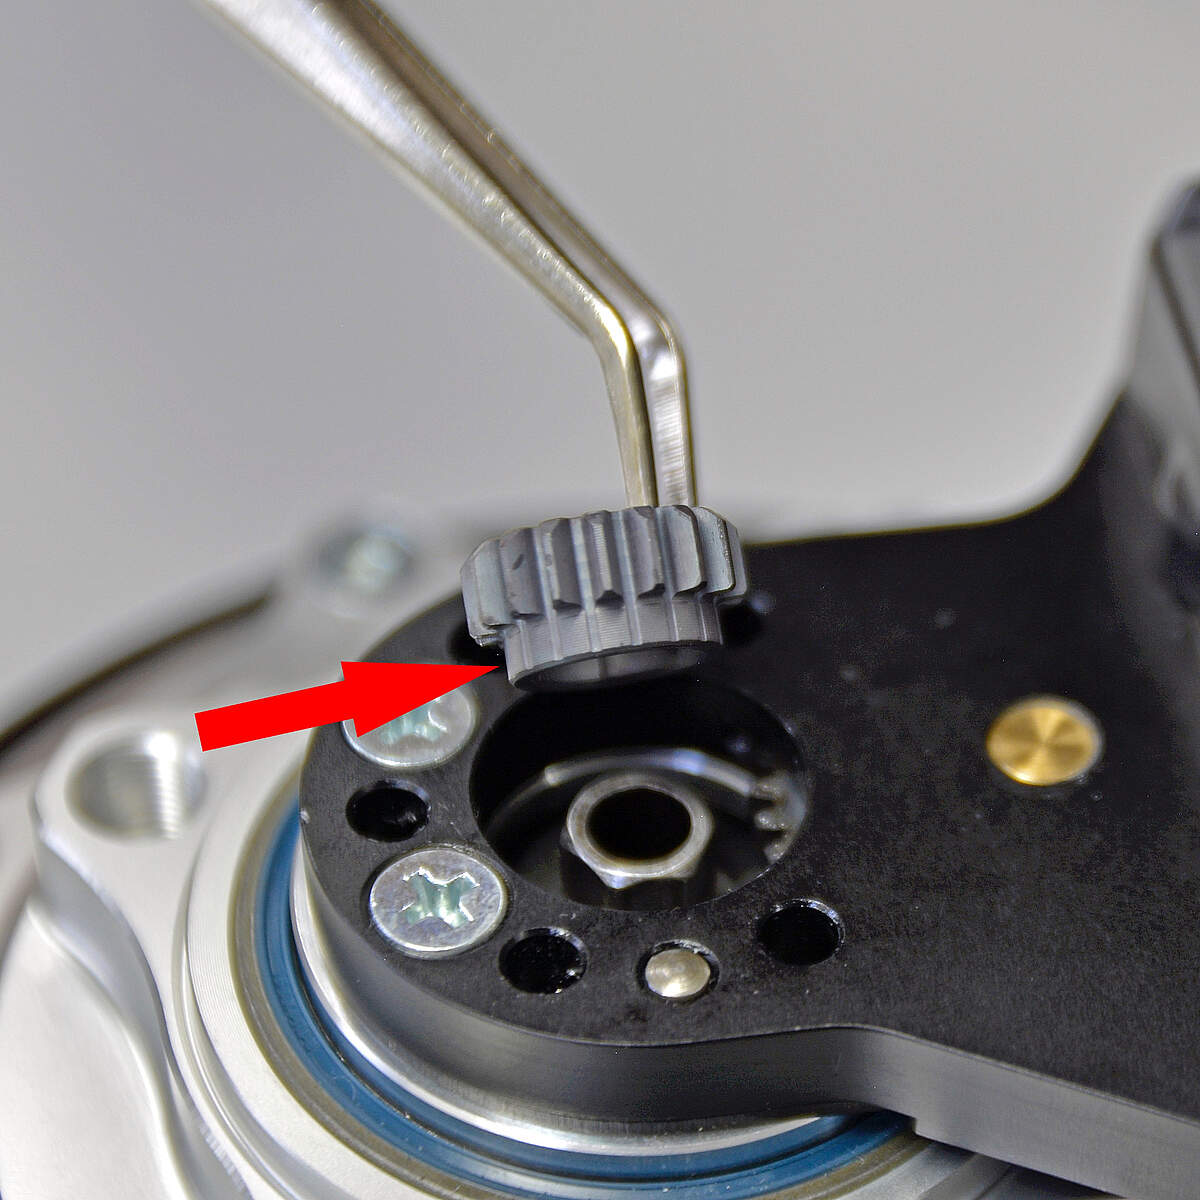
Shift the Rohloff SPEEDHUB 500/14 per hand, into gear number 14 by rotating the shifting shaft manually using an 8mm wrench. Gear 14 will require the shifting shaft to be rotated in a counter-clockwise direction as shown in the illustration to the left.
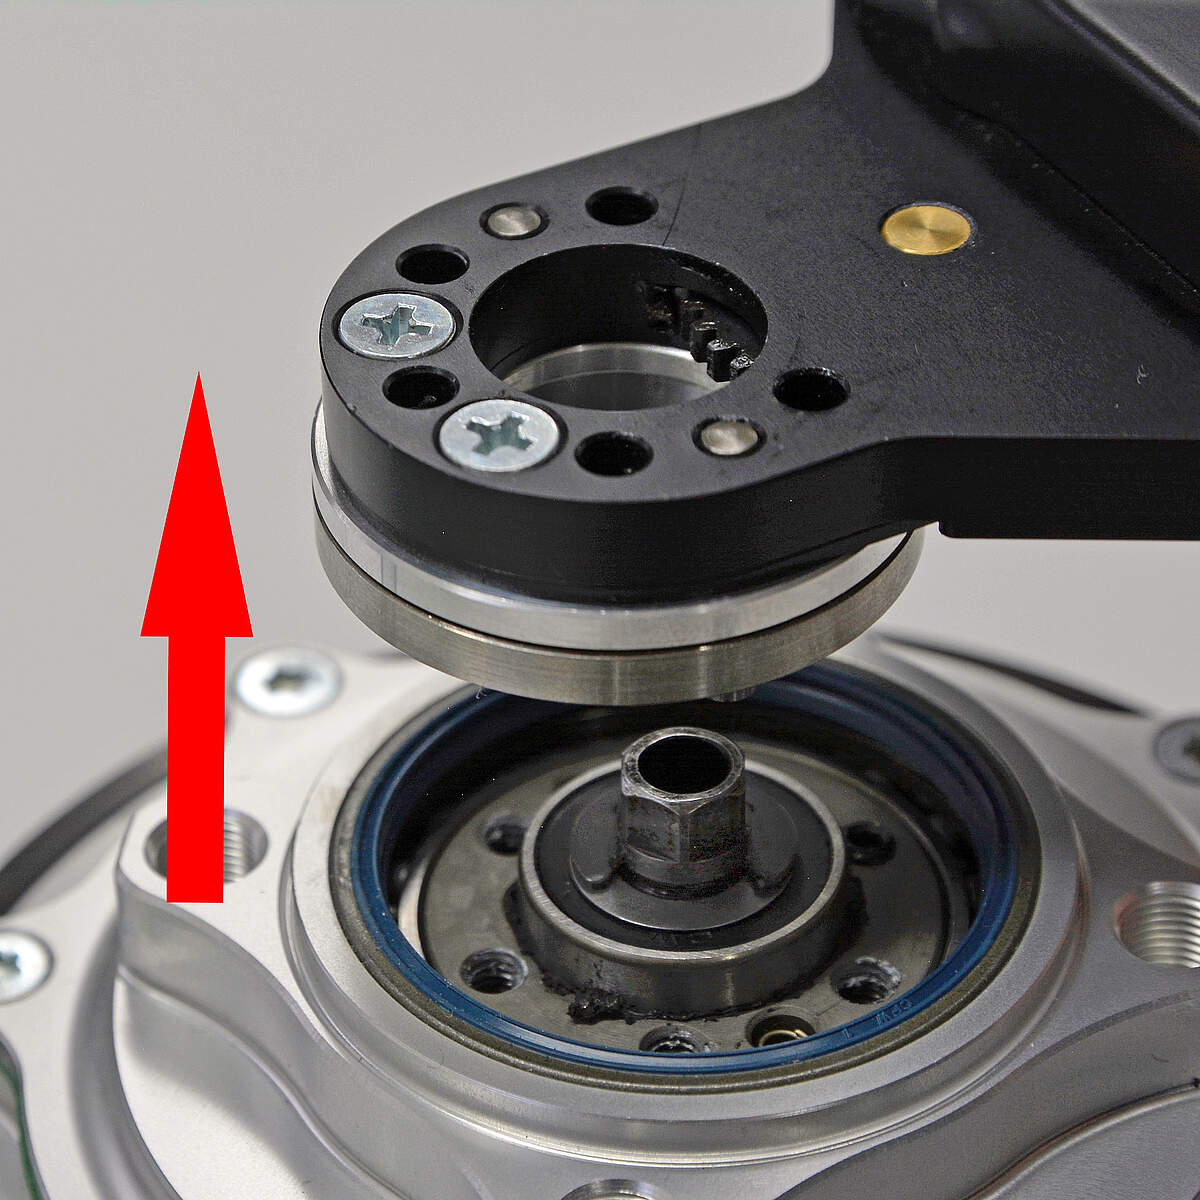
Attaching the External Transfer Box back onto the SPEEDHUB 500/14 axle
Attention:
Refer to Rohloff SPEEDHUB 500/14 Owners Manual – Appendix “Grub Screw of the External Gear Mech”
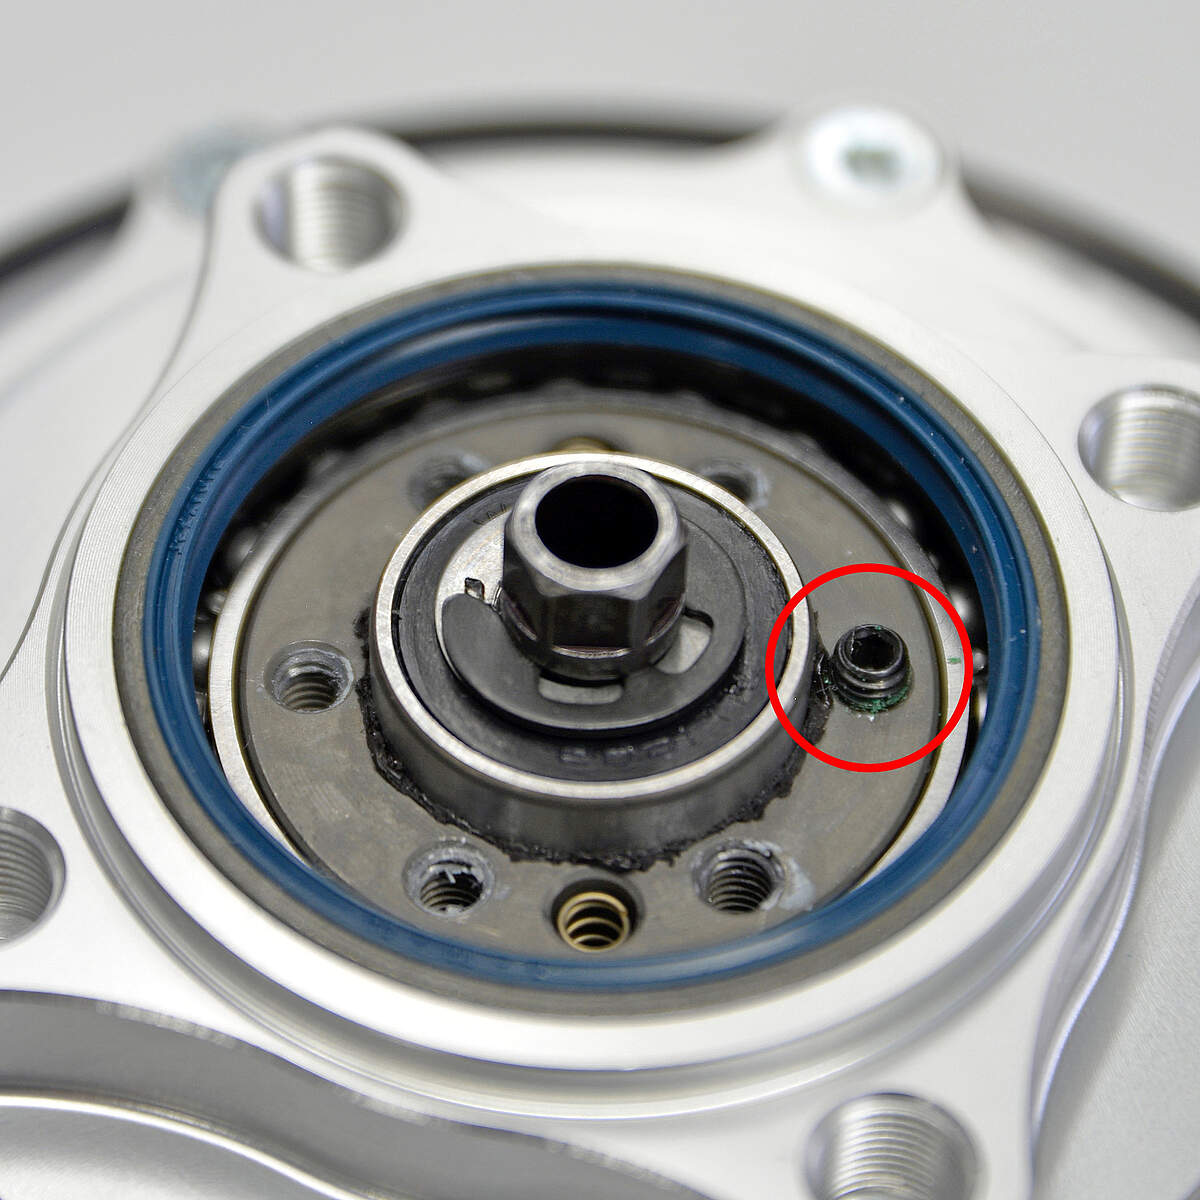
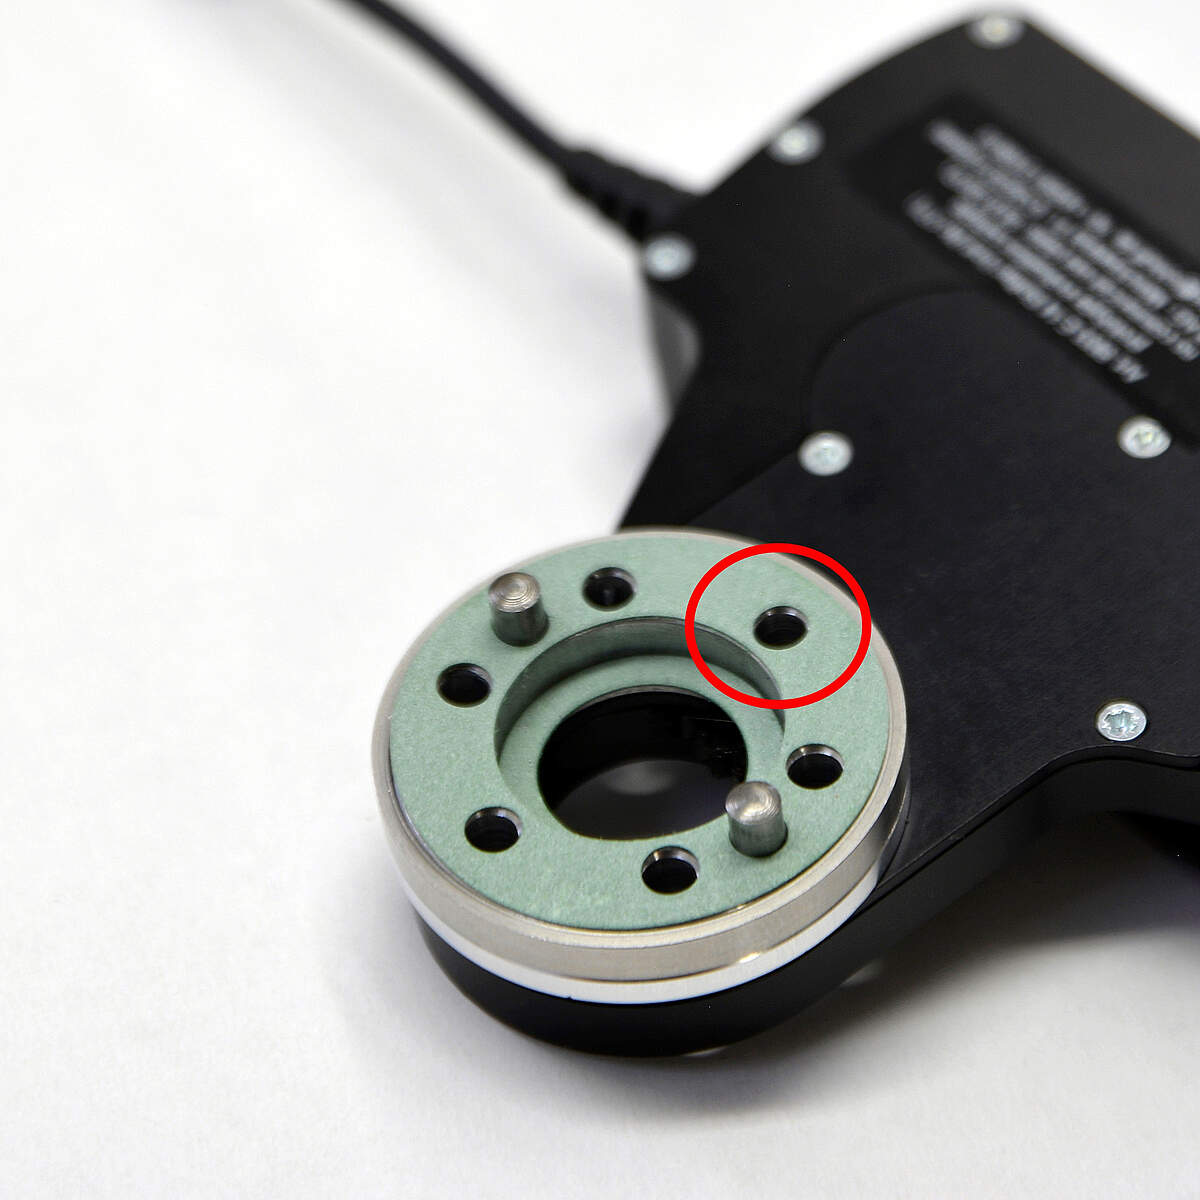
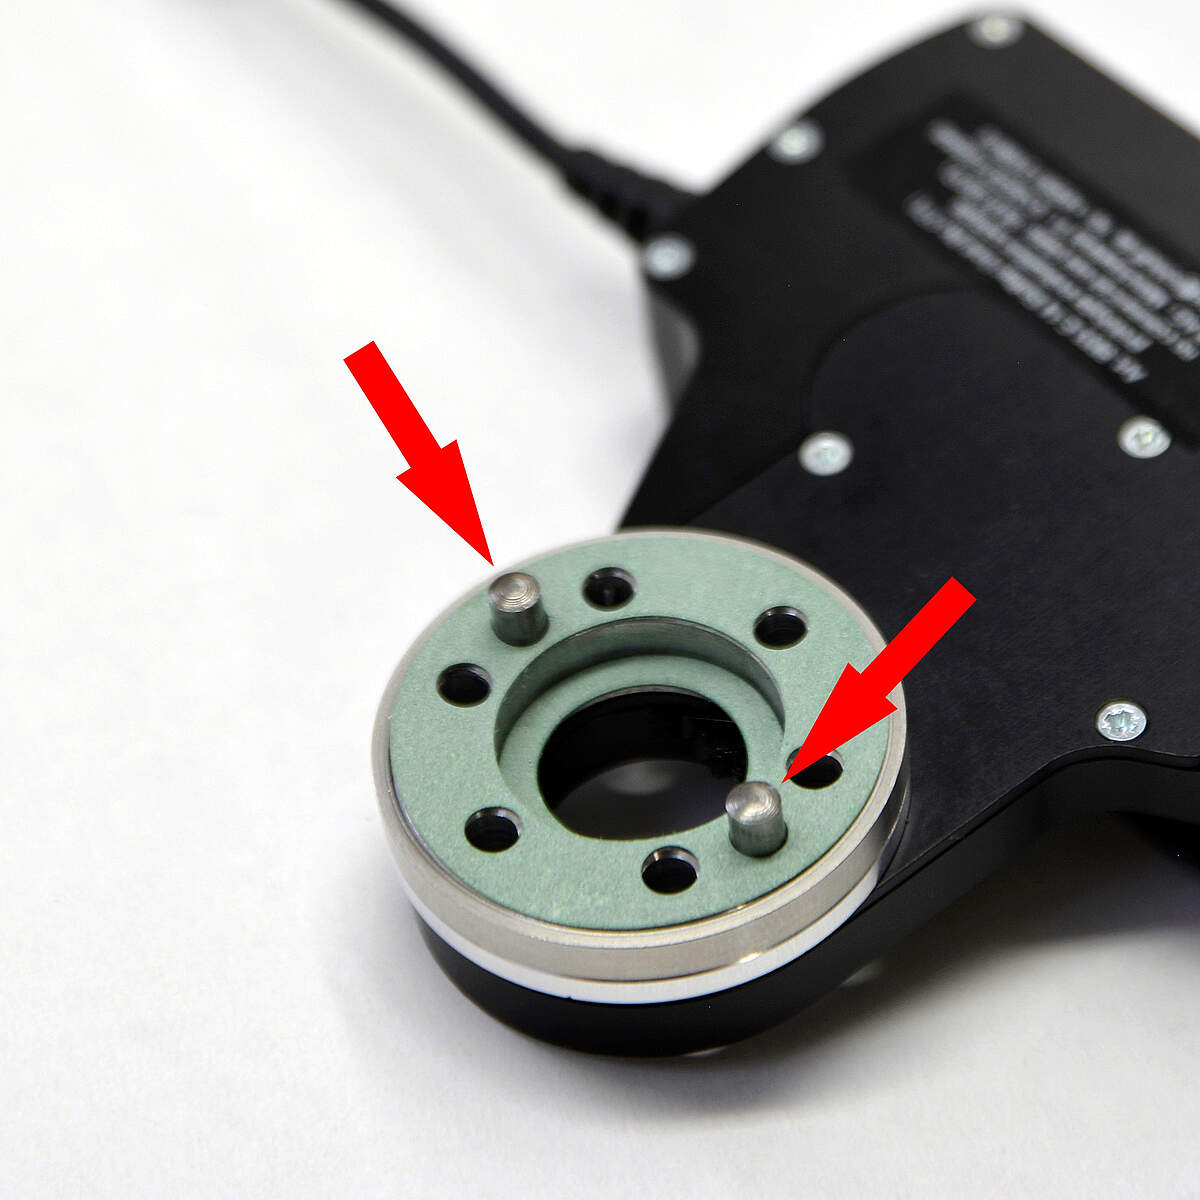
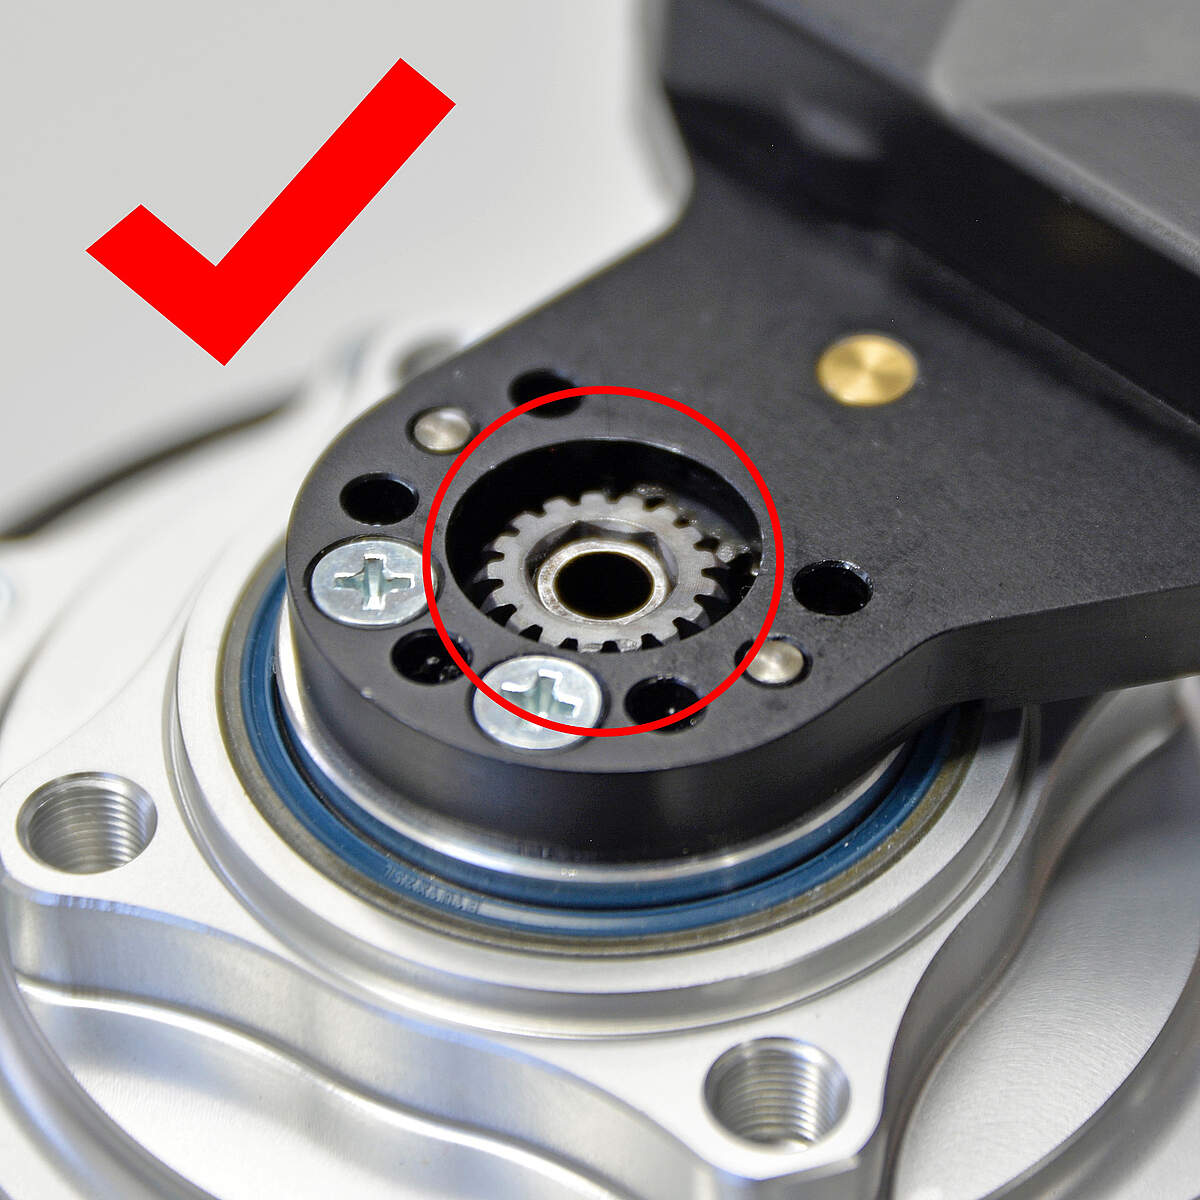
Orientate the blind hole of the Rohloff External Transfer Box, so that this is located directly over the grub-screw (as illustrated in photos above).
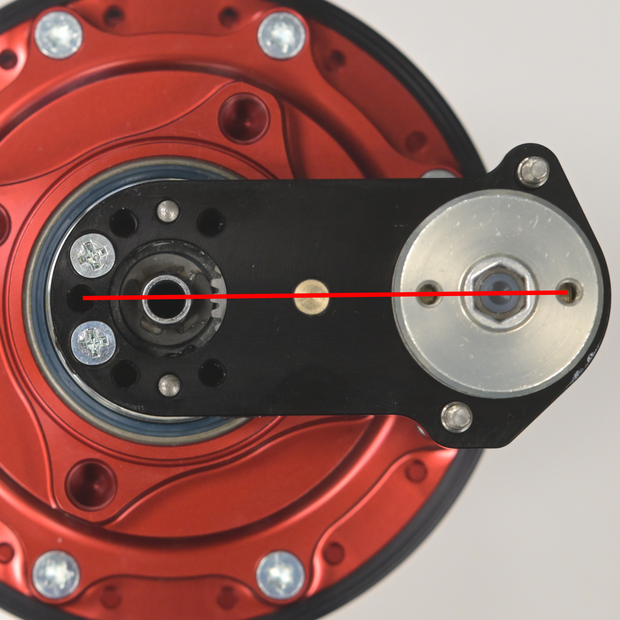
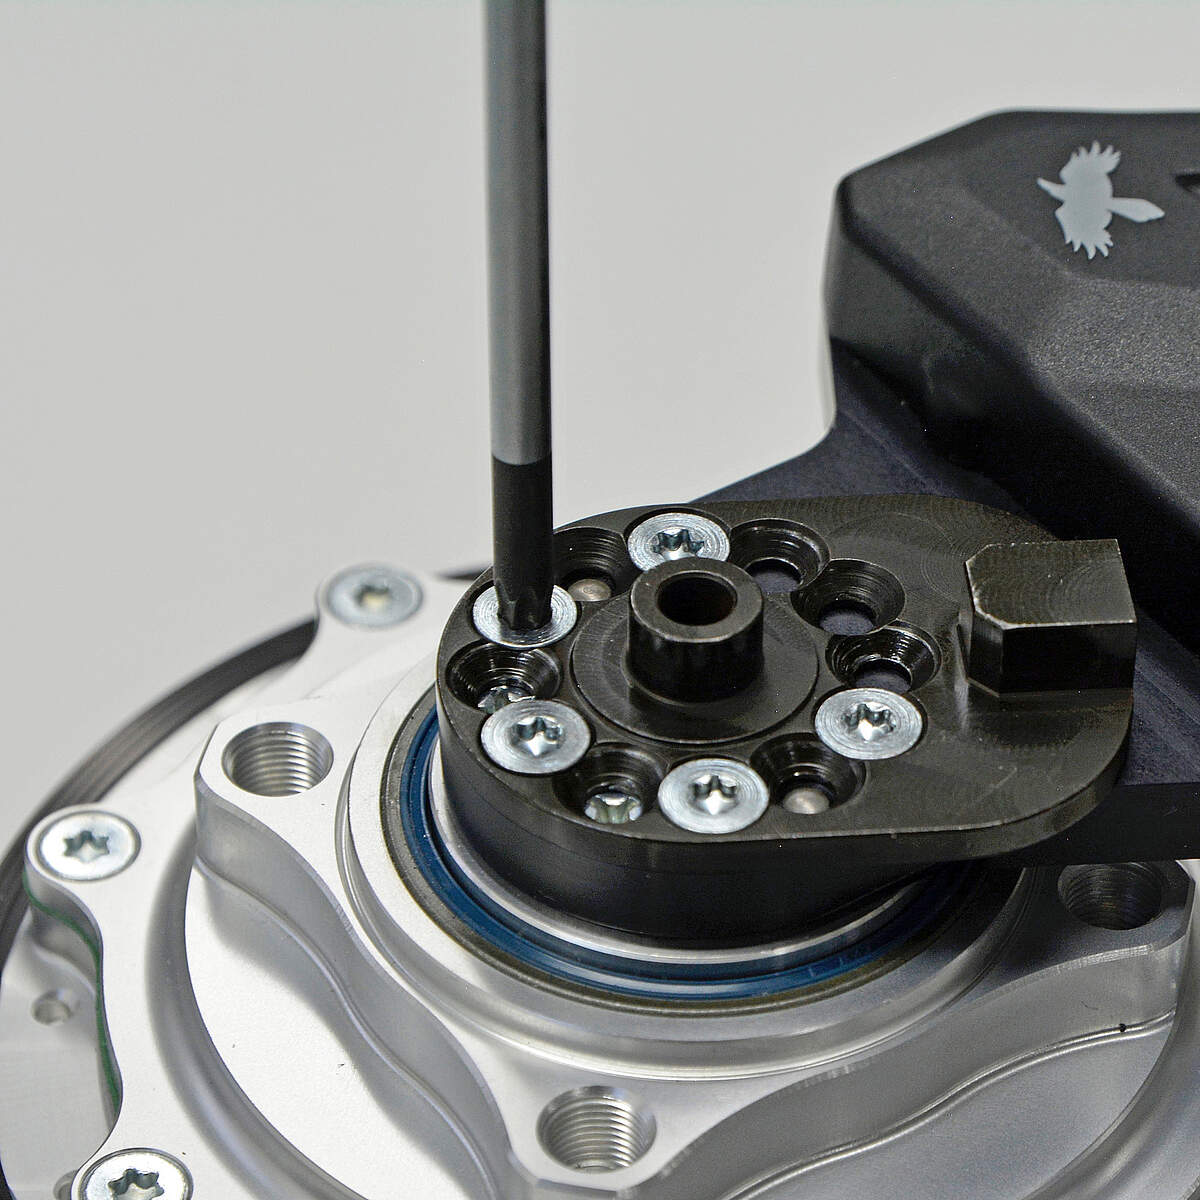
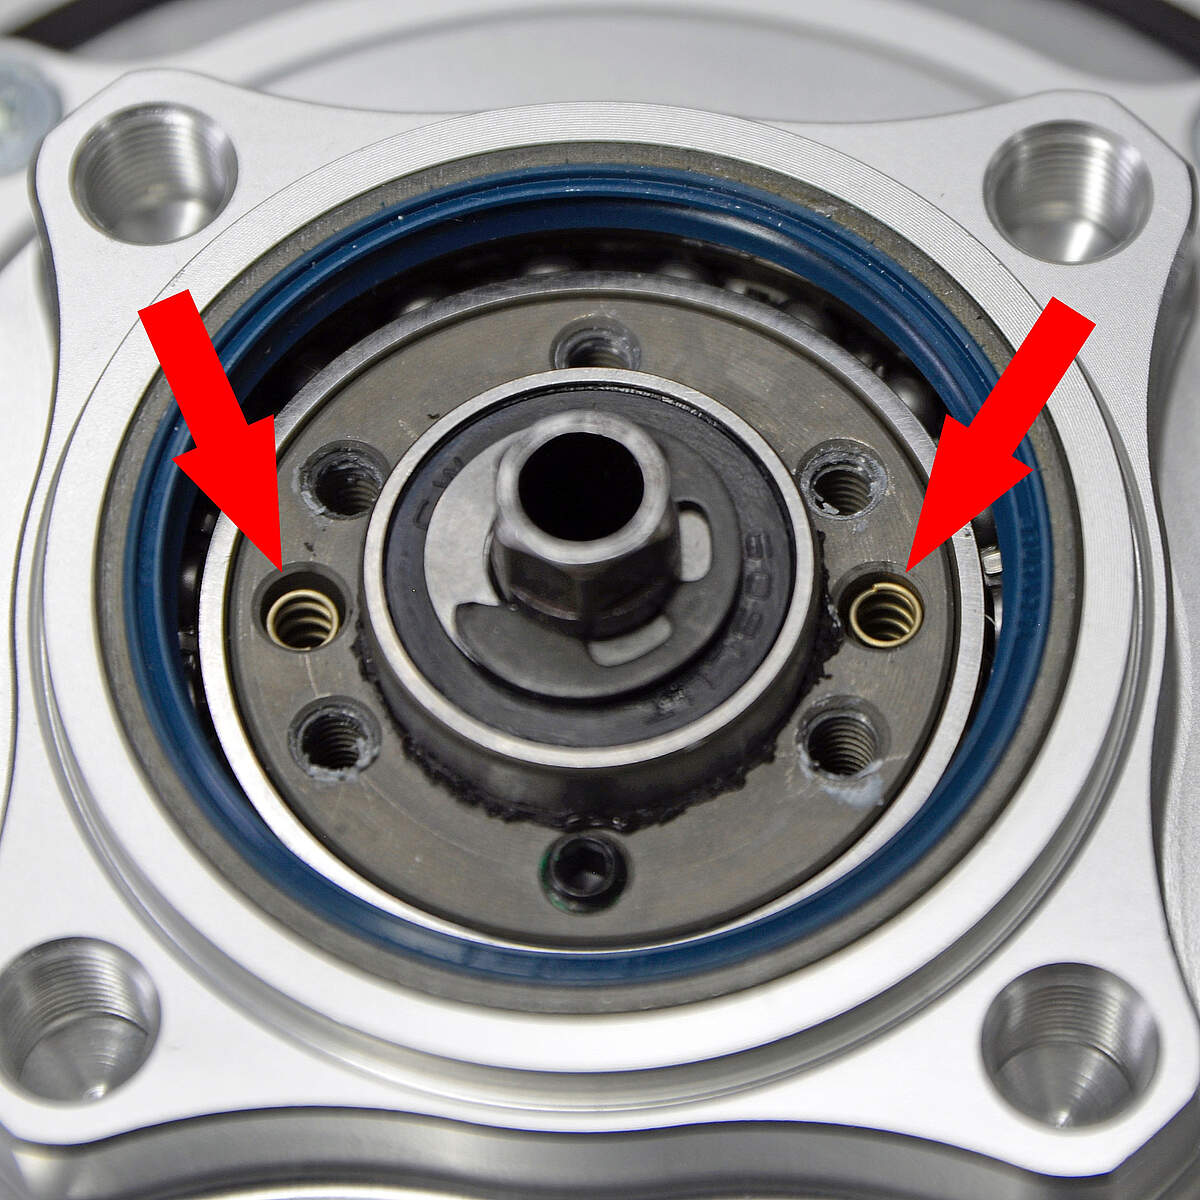
Place a cable pulley over the hexagonal peg of the External Transfer Box, and rotate this so the two grub screws create a parallel libne through the center of the hexagonal peg of the SPEEDHUB shifting shaft. This ensures the teeth of the internal cogs are aligned correctly, ready to accept the small cog in the next step. Hold the cable pulley in this position to prevent it from rotating until the small cog is fitted.
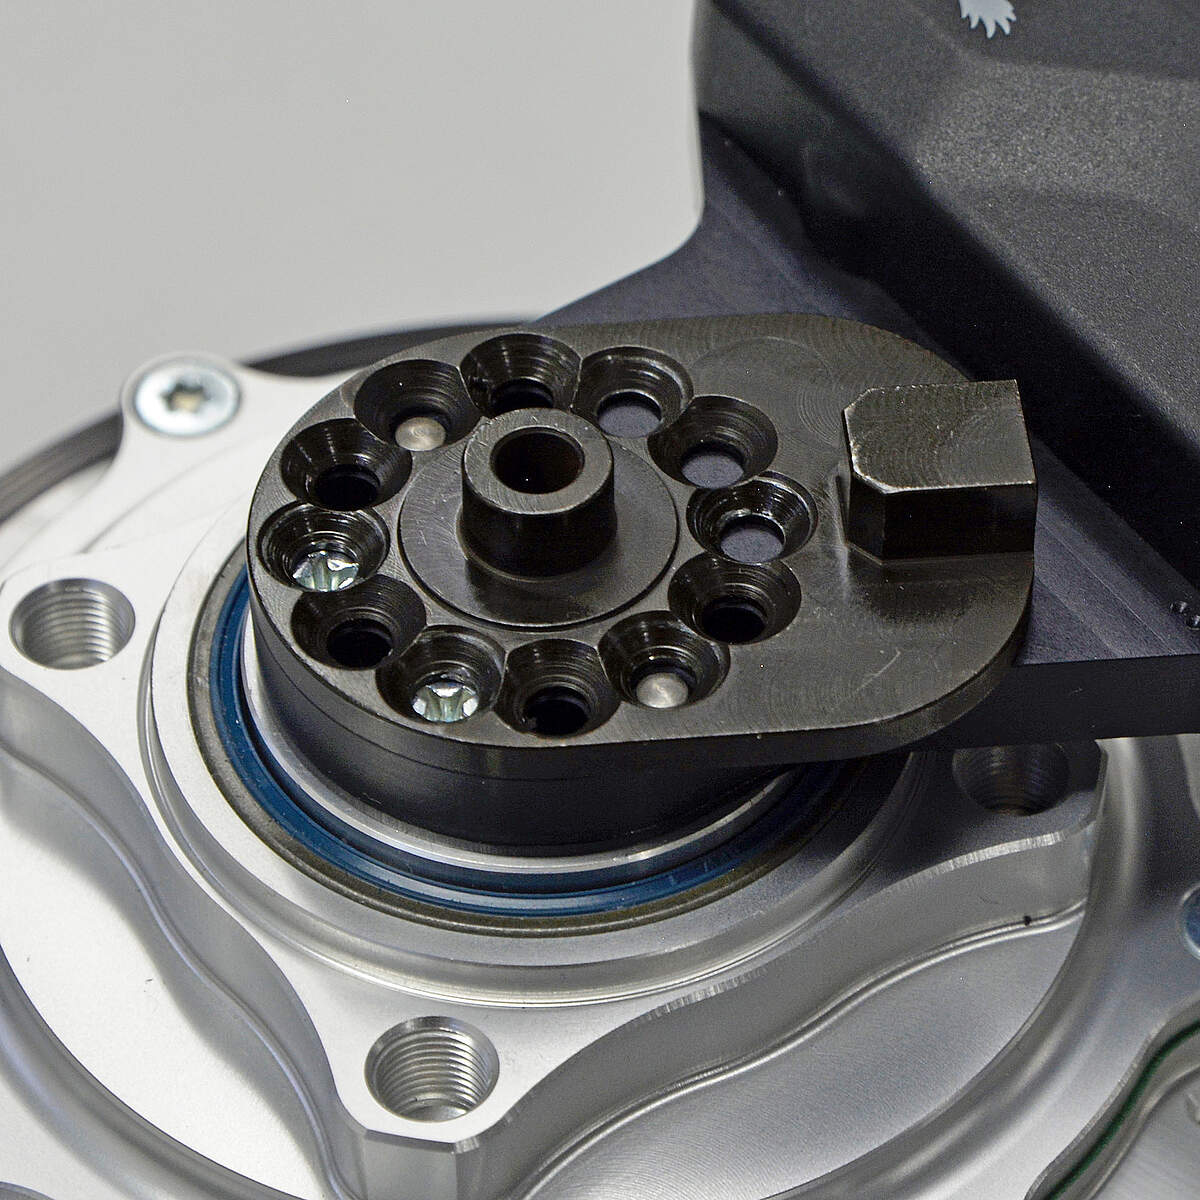
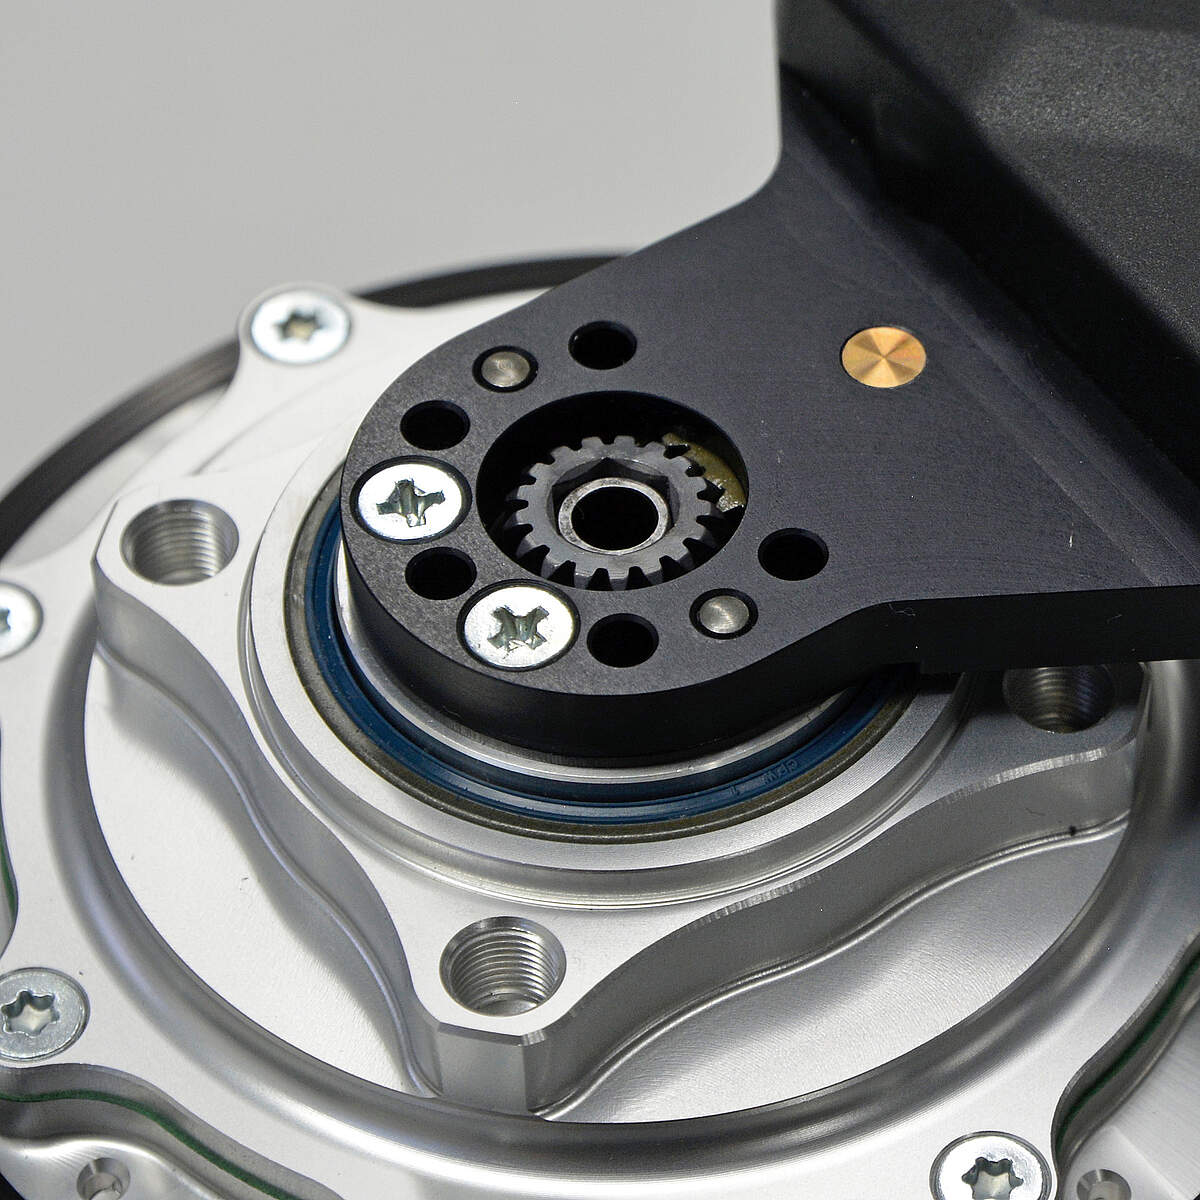
Ensure the teeth of the shift cog are facing upward, away from the gear-unit, with the rounded side facing down. Reinstall the shift cog onto the shifting shaft. The hexagonal fitment creates 6 possible positions to reinstall this small cog - only one will be correct, whereby the cog will slip easily into position without force.
Attention: Refer to Rohloff SPEEDHUB 500/14 Owners Manual – “Changing the Gear Mech”


If a brake rotor needs to be mounted, then make sure this is done now, prior to refitting the axleplate, as the axleplate orientation may prevent the rotor being slipped into position.
Place the axleplate back on top of the External Transfer Box, in the correct orientation as prior to removal. Secure in place using 5x new TX20 axleplate screws. (Torx TX20 T-Wrench, 3Nm / 25”lbs).