Mounting right
Mounting the Twist Shifter

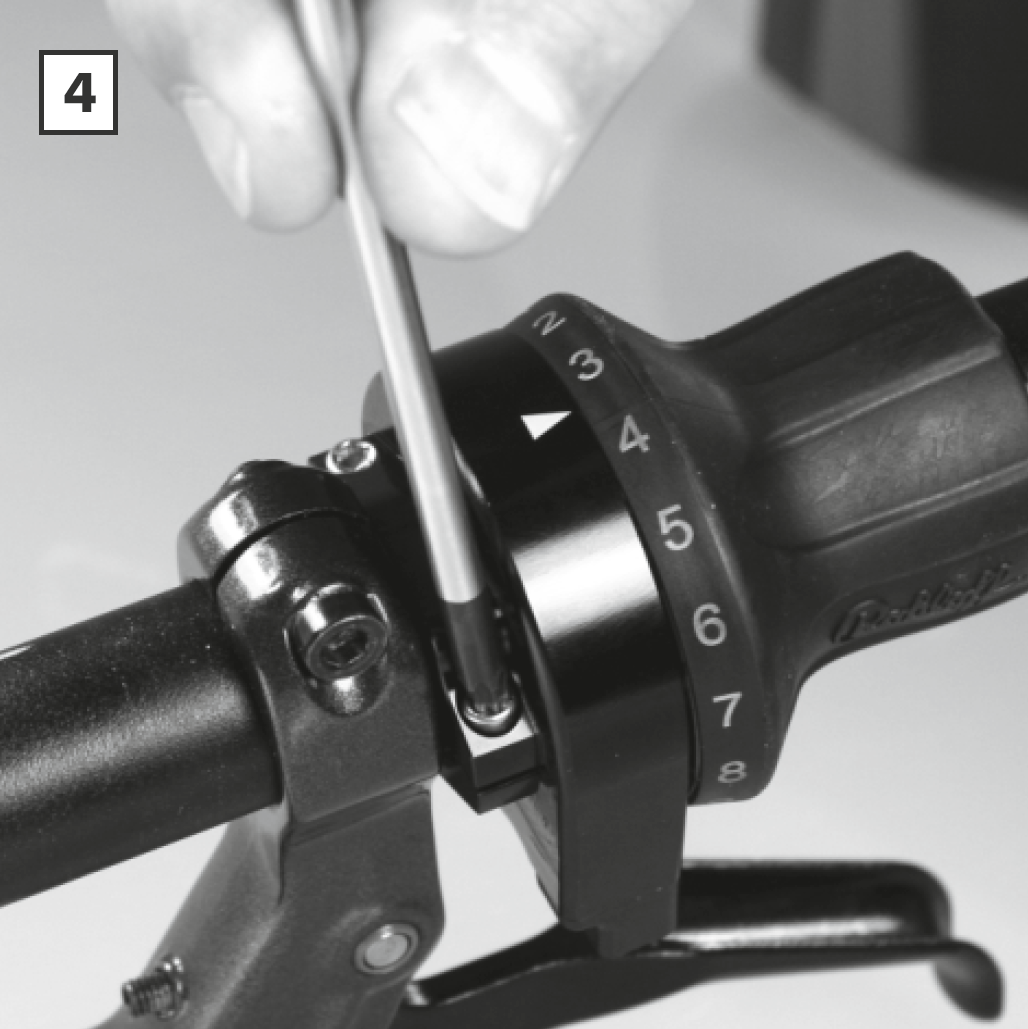
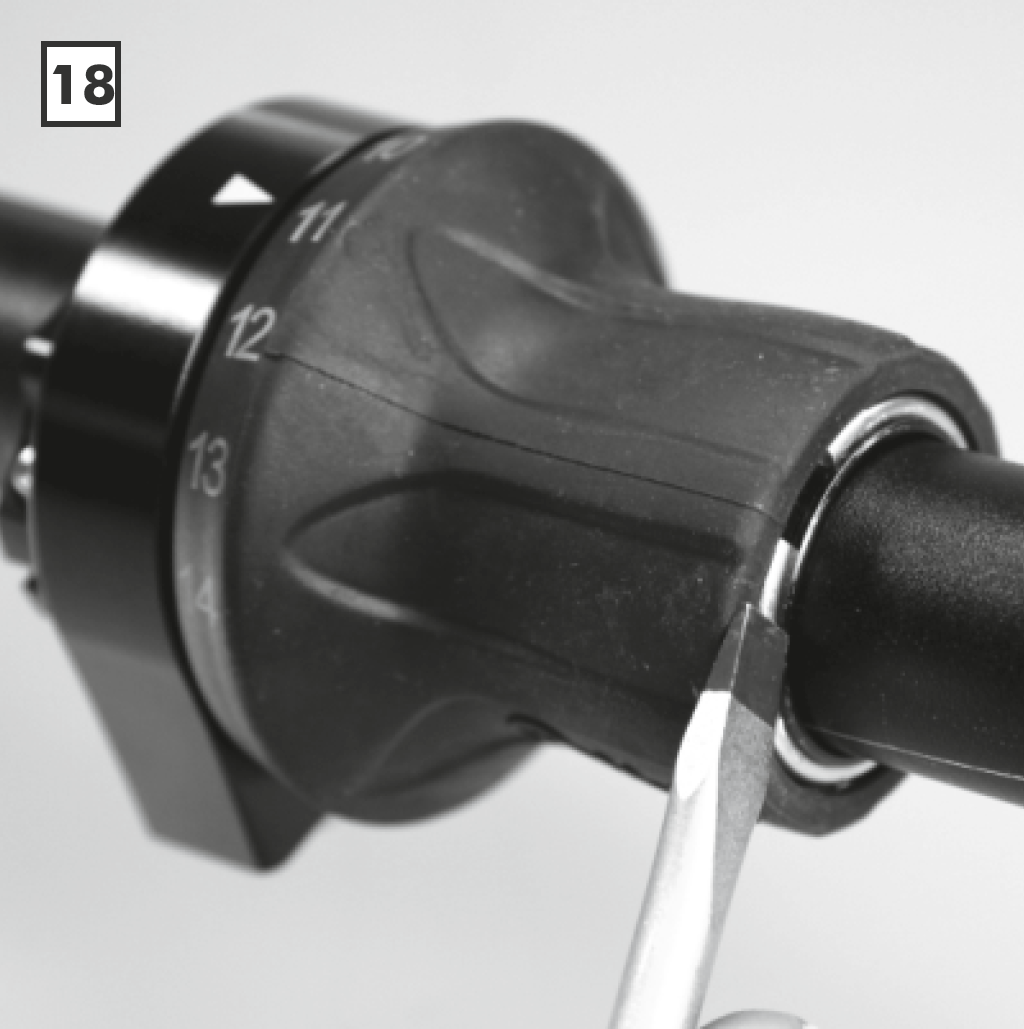
Both Clamp Screws (M3x12 - Torx TX20) should be lightly fitted so that the gap between both clamp elements is identical.
Insert the screws using the pressure of just two fingers on the TX20 tool. Finally tighten each screw by max. 2Nm (1/2 rotation). The Twist Shifter should now be tightly secured to the handlebars.
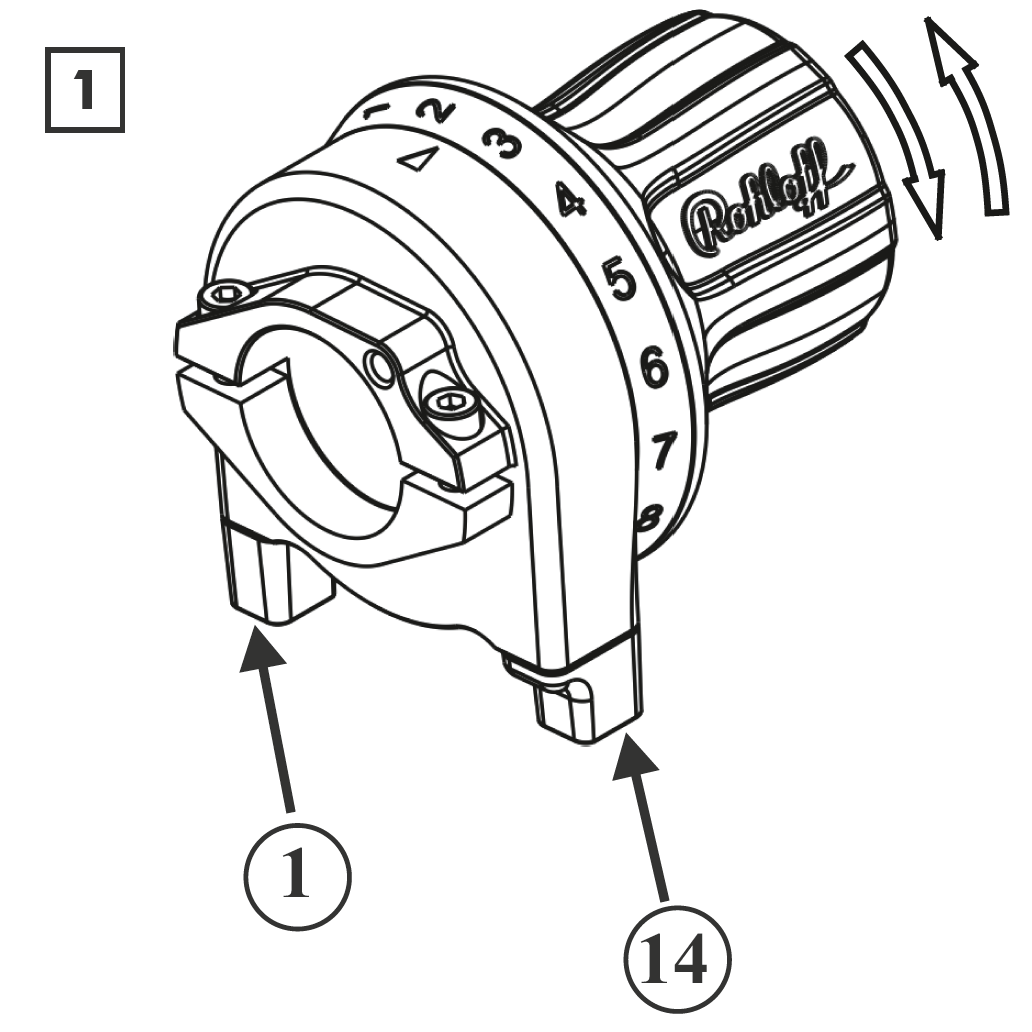
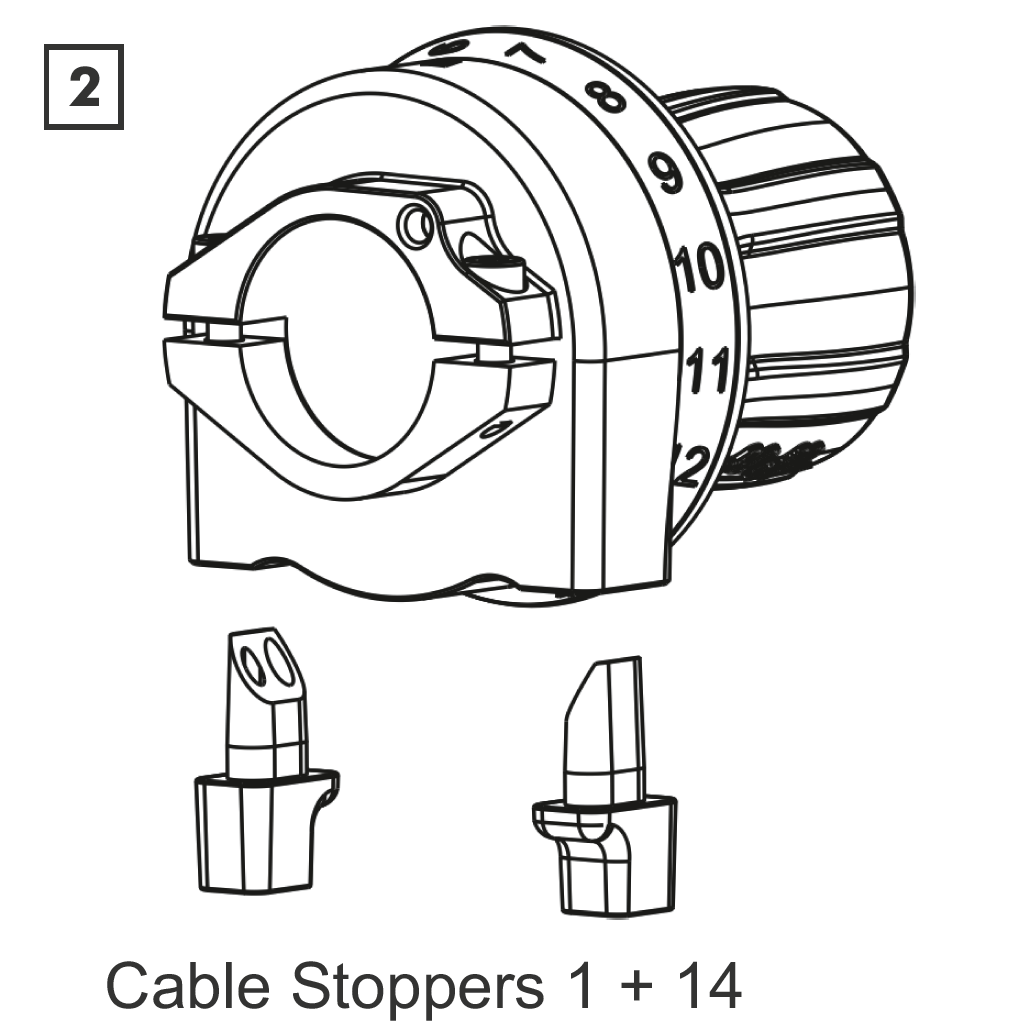
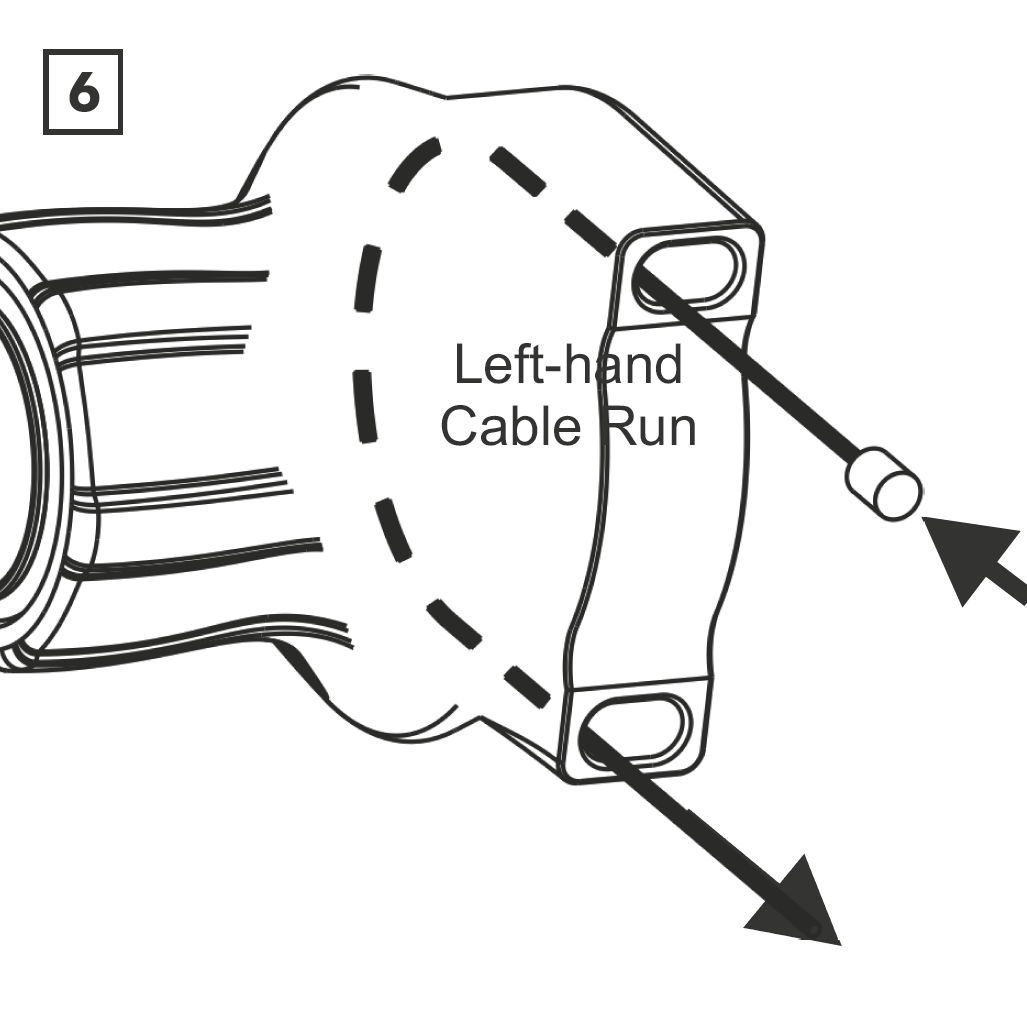
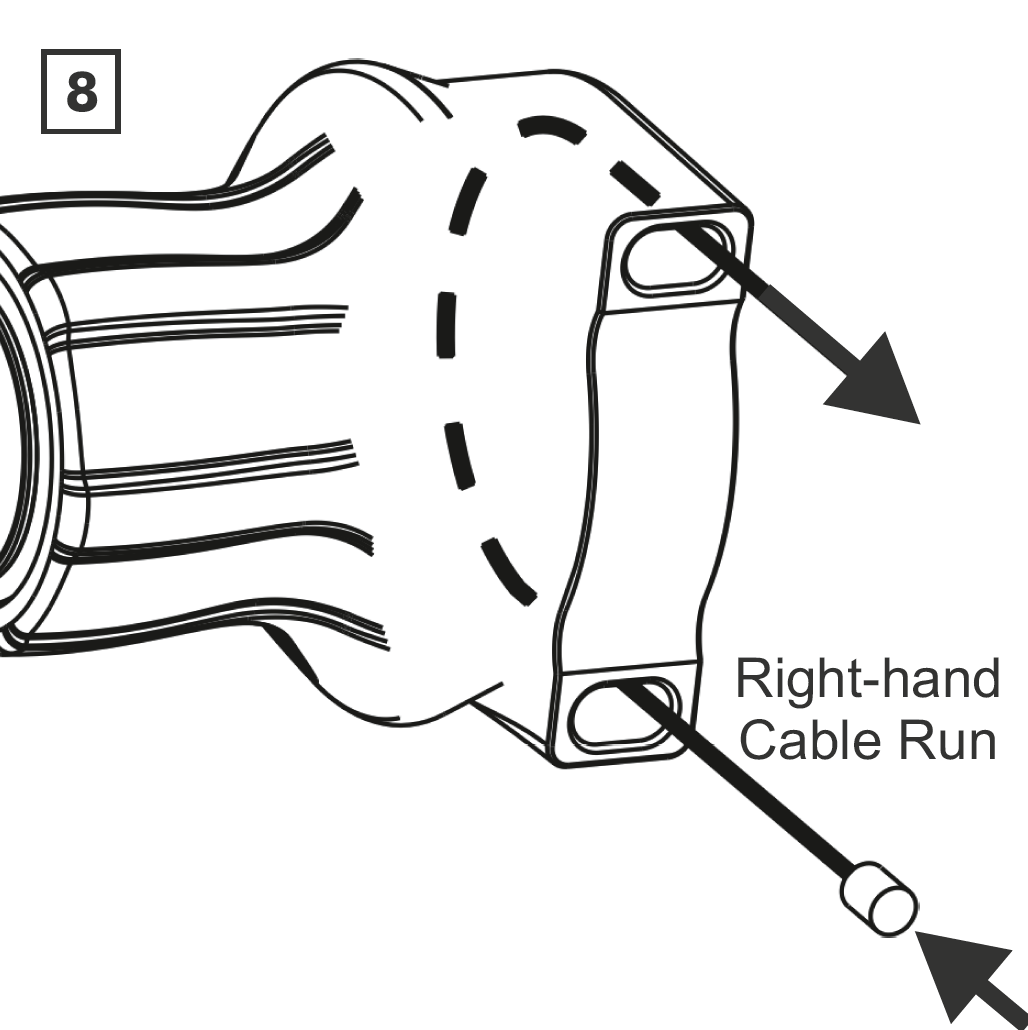
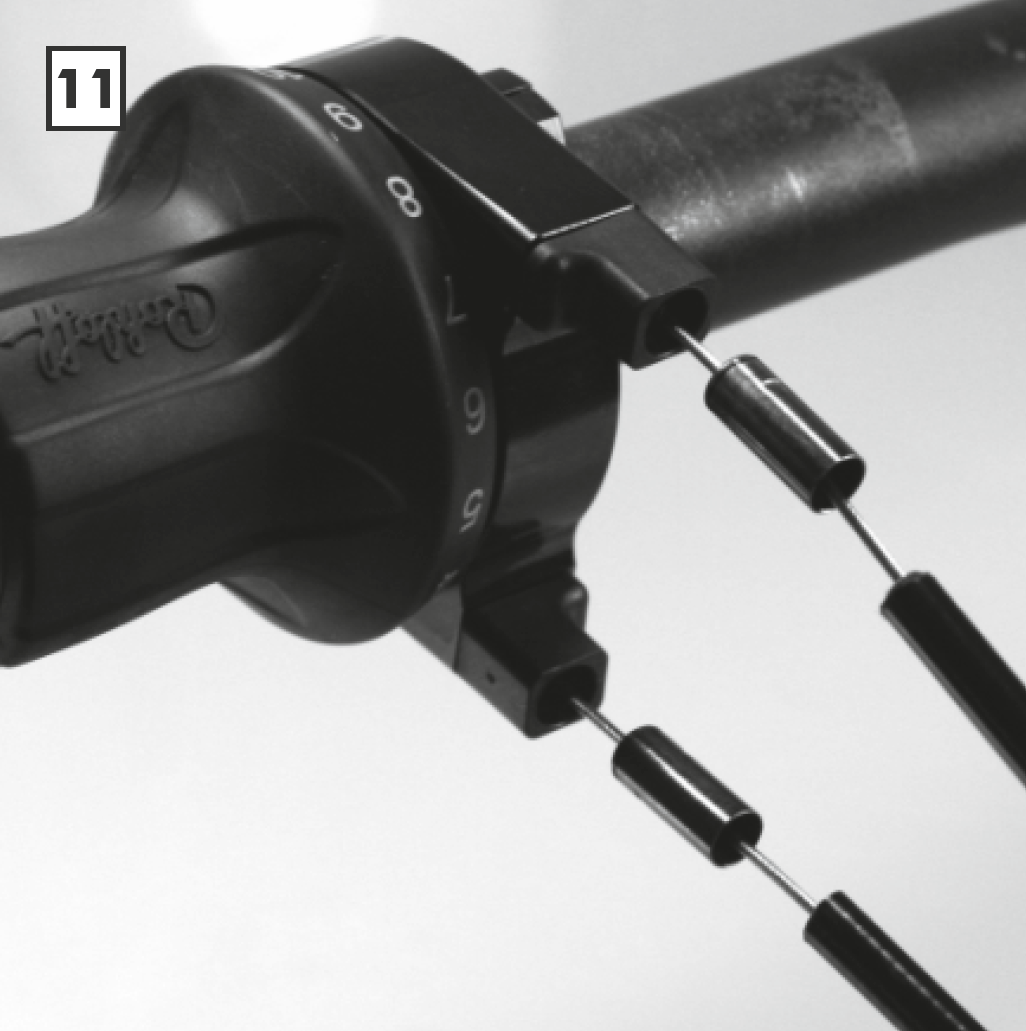
Fitment of Shifter Cable

Rubber Grip replacement
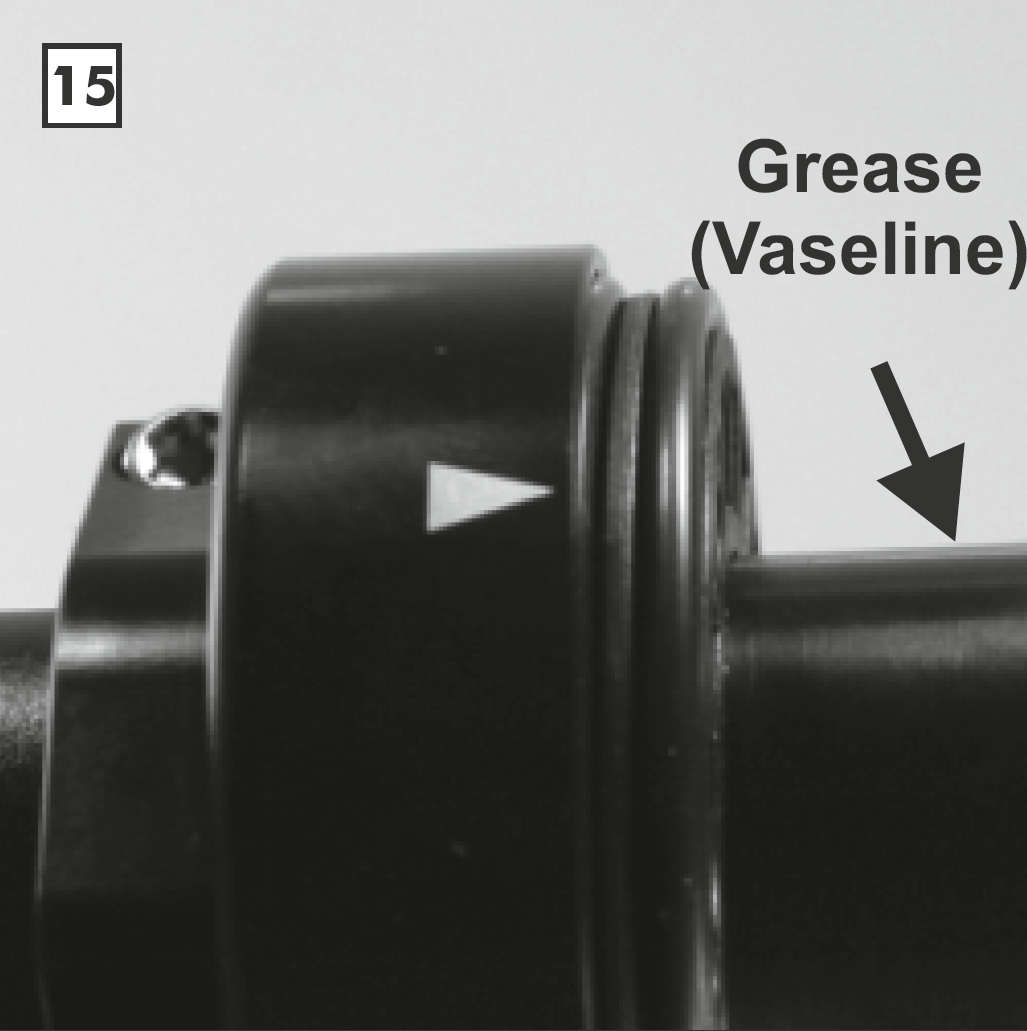

The Grip Rubber and the Cable Pulley will only marry in one position. The Cable Pulley has 5 blind holes which correlate with the 5 pins found on the Grip Rubber. It is therefore impossible to re-mount the Grip Rubber incorrectly.Lightly grease the inside of the Grip Rubber prior to mounting back over the Shifter Housing.

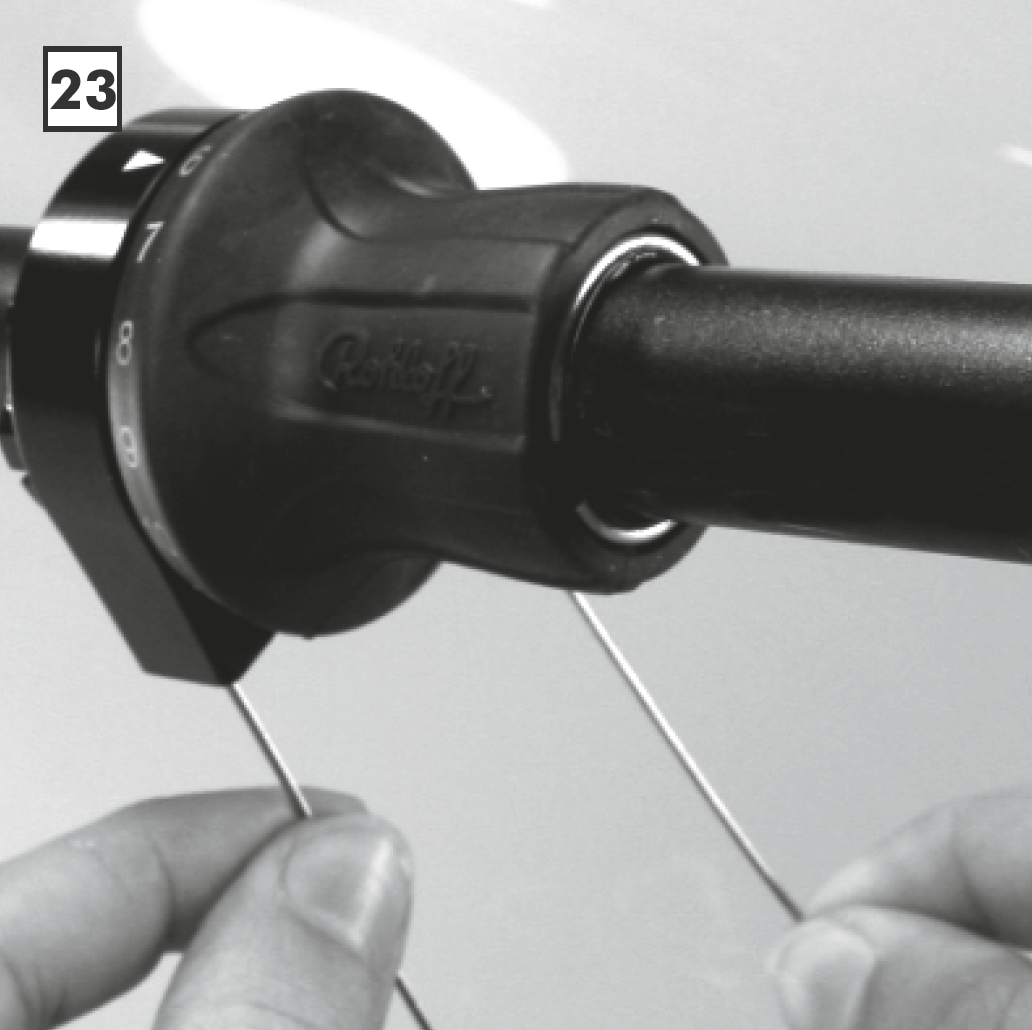
Replace Shifter Cables
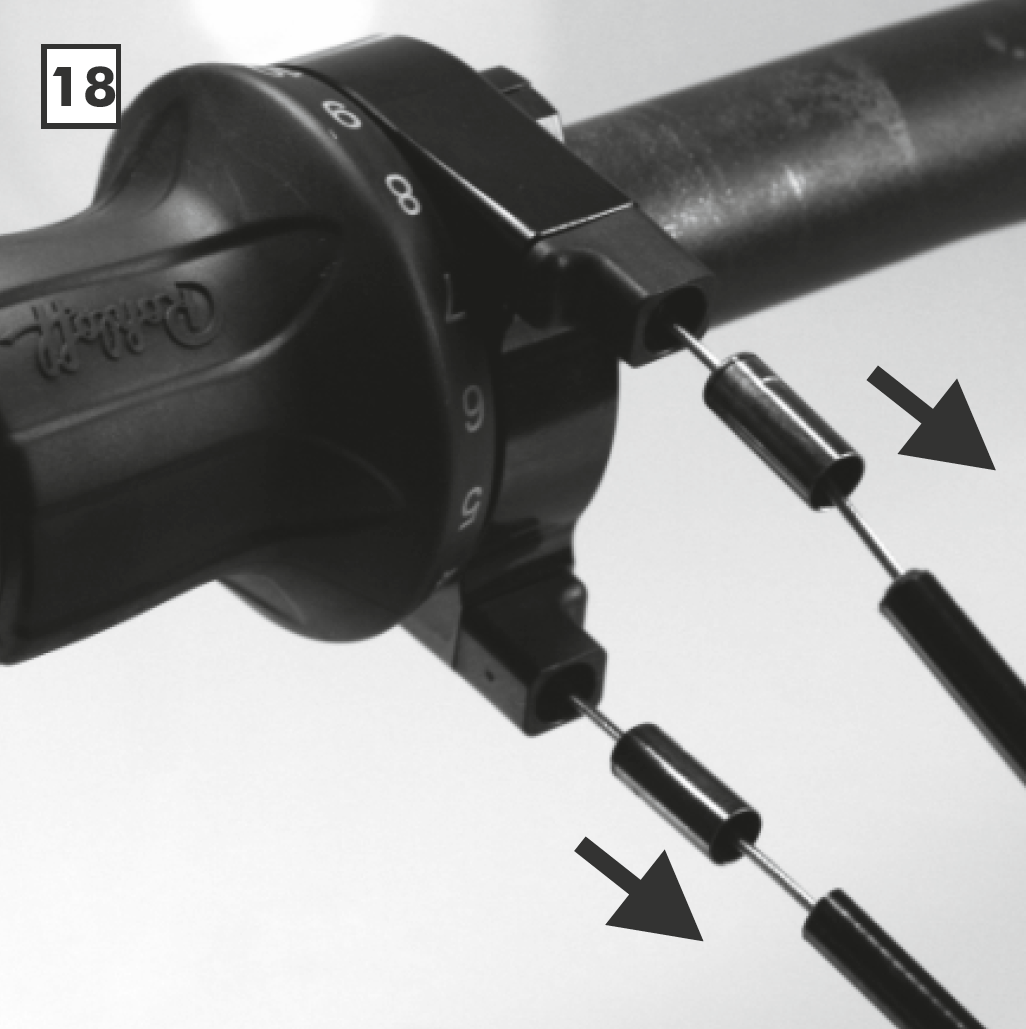


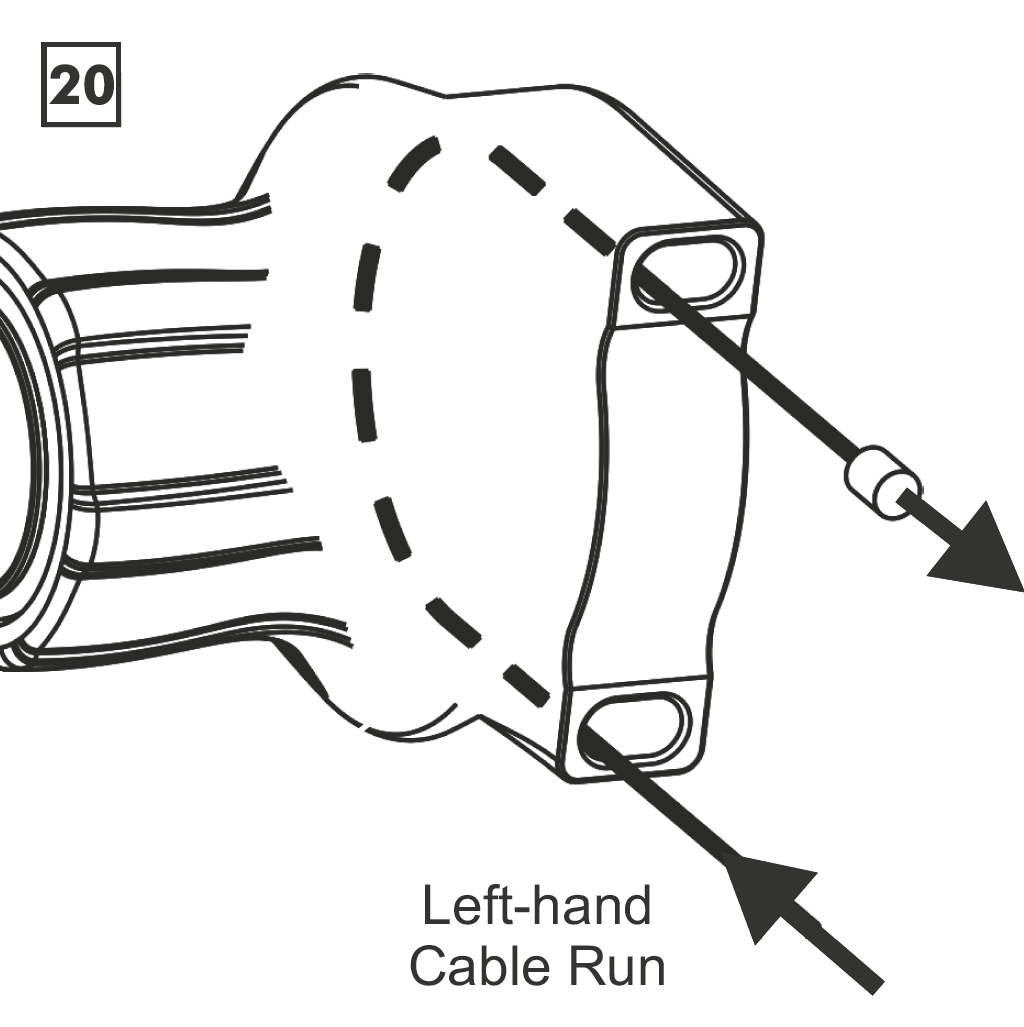

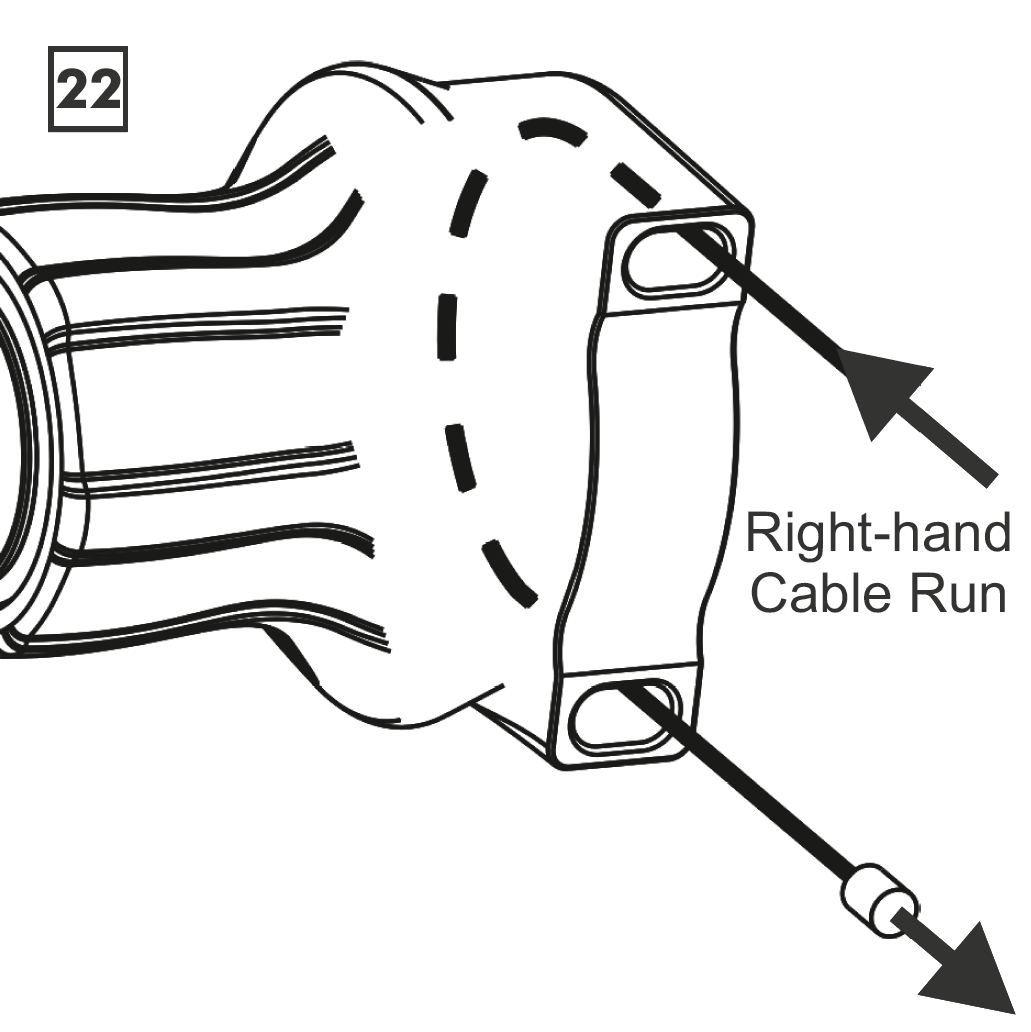
Mounting Shifter cables
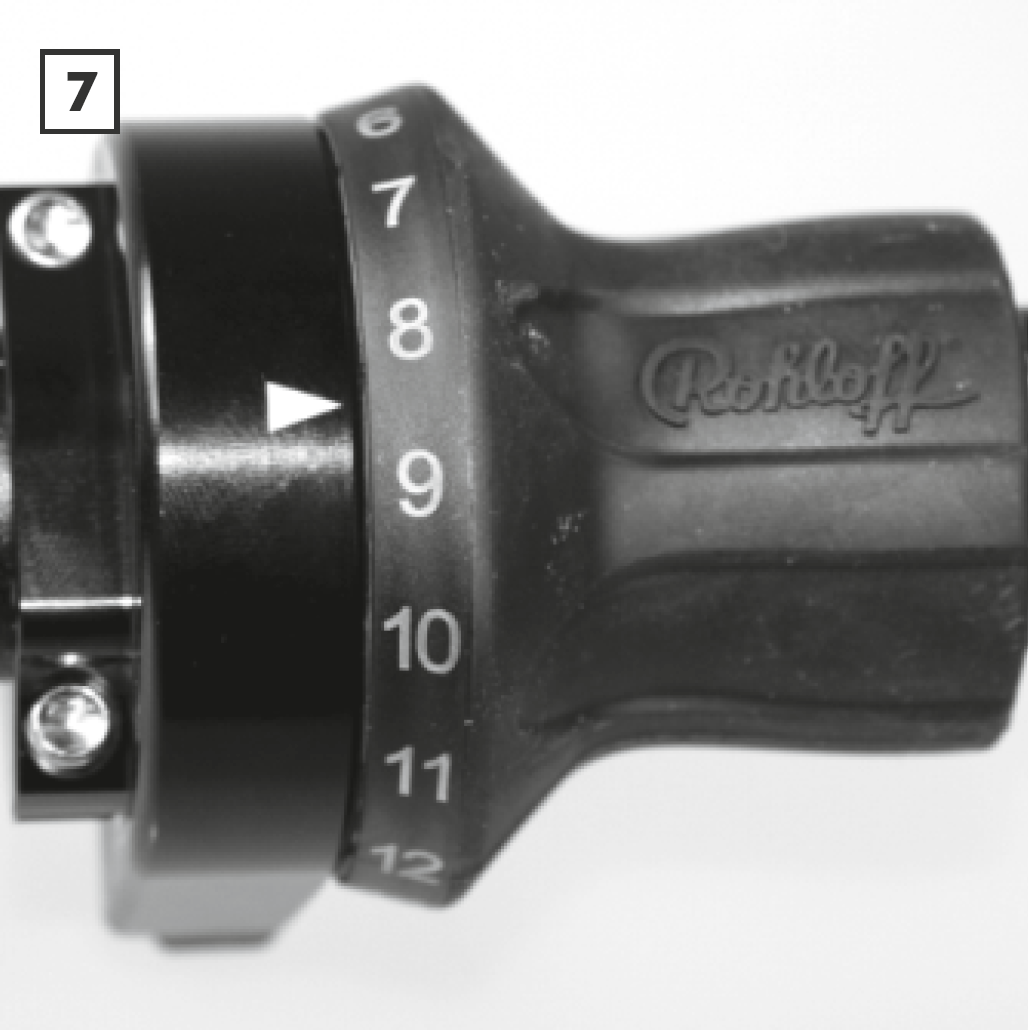
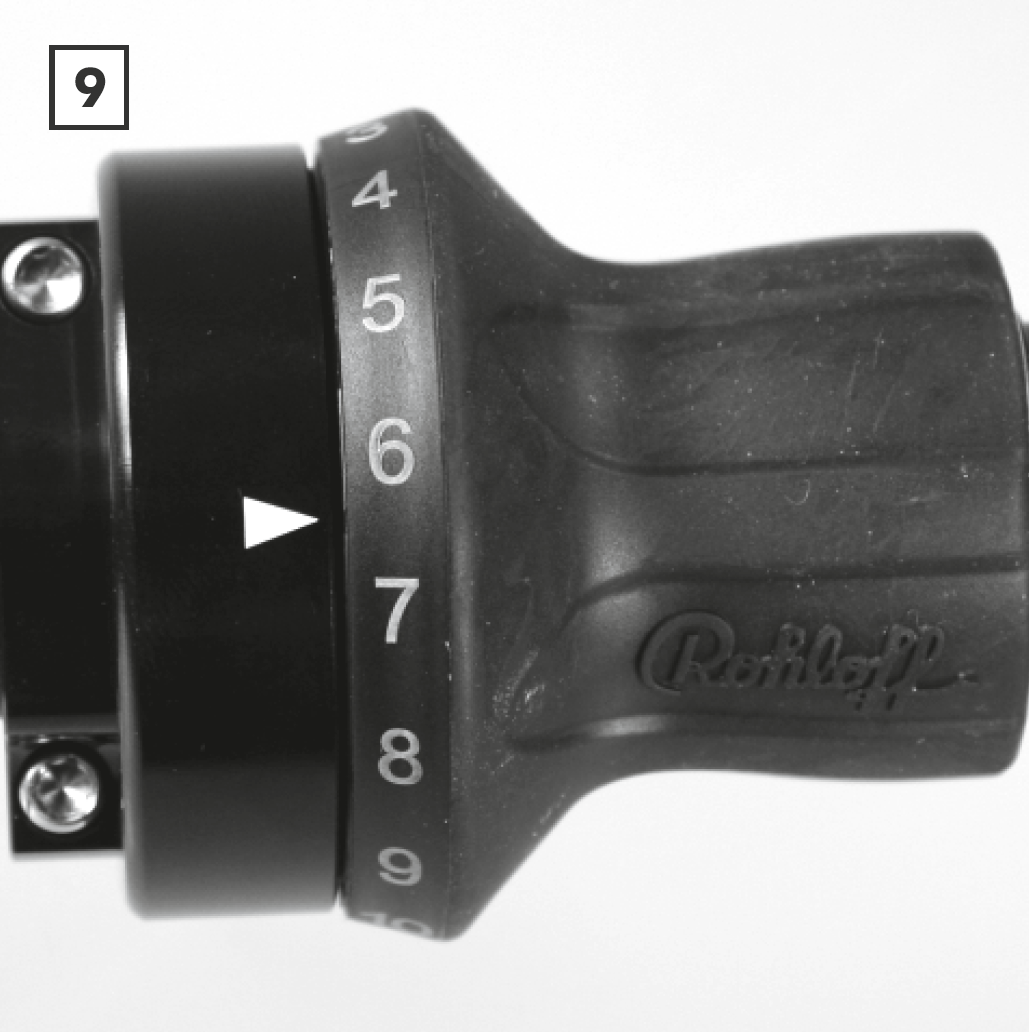
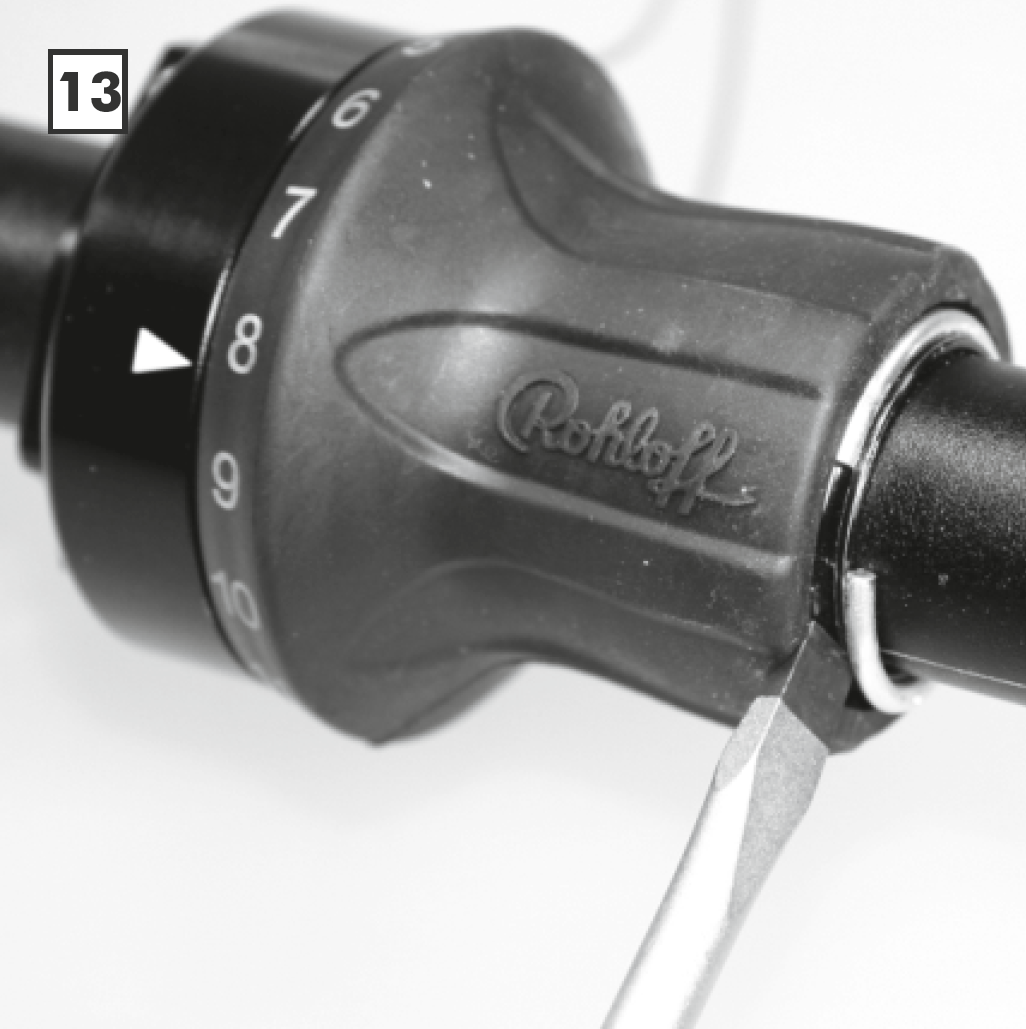
Refit the Shifter Cables into the Twist Shifter as described in the mounting instructions above.